
So we left off in Part 1 finishing up mounting the panels and stiffening the bimini frame. The outside part was done. Now, it was now time to go inside and wire everything up.
The first issue to deal with was the house bank. It was too small. The boat came with a bank consisting of two Interstate SRM-27 batteries (96 aH each) and an Interstate starter battery to port as shown here:

Everything ran through the Blue Sea ACR you see mounted on the drawer box – which had already saved my alternator when I absent-mindedly shut the ignition off while the engine was running (vs. using the kill plunger – doh!). Thanks Blue Sea!

As you can see, the wiring/cabling was pretty sloppy. I’ll need to clean that up eventually, but for now, it was more important to get the bank upgraded and the solar system finished.
I did quite a bit of research on how to upgrade the house bank. The most common recommendation on the forums was to go with 6V golf-cart batteries. This made a good deal of sense as you could get quite a bit of amp-hours in a reactively small package. The problem for me was – the package wasn’t quite small enough…in terms of space or cost.
For example, one of the most recommended brands is Trojan:
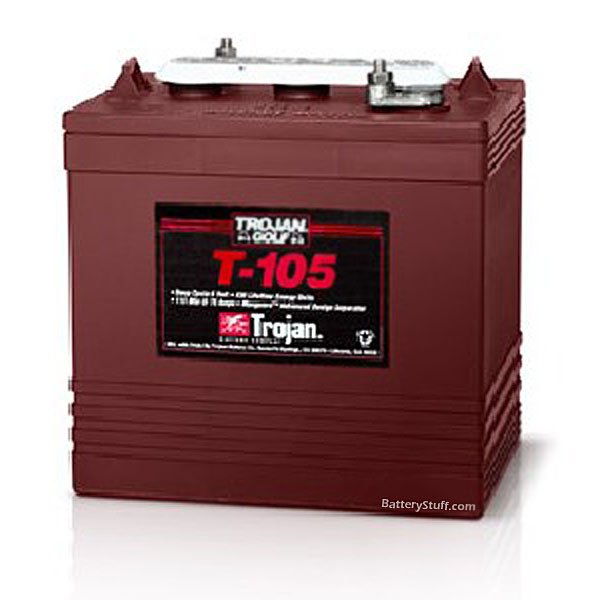
This particular battery would have given me 225 aH on each side of the bank for a total of 450 aH. The problem was that each battery cost between $150-$200…so replacing my existing batteries with this new bank would be very expensive.
Also, these batteries are 1″-2″ taller than my existing batteries. And as you can see in the photo above, I don’t have much vertical room at all.
So, I decided to simply add two more Interstate SRM-27s. I knew I could get these into the space beneath the bed – and I would be spending just over $200 for the additional batteries (as opposed to 4X that). Yes, my bank would have less capacity at 384 aH as opposed to 450 aH with the Trojans…but that was exactly why I was adding solar, right? We’ll see.
Looking at my configuration I saw that I had space behind the center battery for one more – and I also figured I could use that drawer box for another battery if I pulled the drawers (gluing back on the fronts only) and cut an opening in the top of the remaining box.
It worked like a charm.

Now it was back to the cabling.
I ran the extension cables from the panels down through the aft gunwale beneath the stern-perch seat (I hate drilling more holes in my boat, but…) then down through the lazarette floor and into the generator compartment…

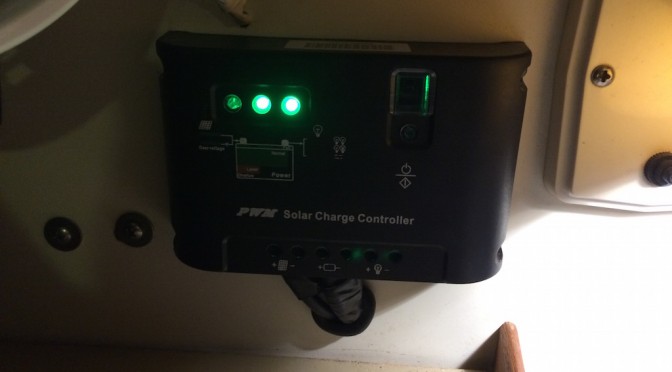
…then through the aft bulkhead to the controller…

I then ran the charging cables from this same spot back through the generator compartment and into the battery compartment (the black cables seen below).

Then it was just a matter of hooking it all up and crossing my fingers…
Stay tuned and I’ll let everyone know how it all works out. Now on to some Various Projects!
Was Dawn Treader sailing in the Edmonds-Kingston area on Sunday, A[ril 17, 2016? I have a friend that took a great picture of the boat under full sail with Mount Rainer and Seattle in the horizon.
Please contact me back and I will connect you to my firend who took the picture.
Laura Huntington
lhuntington@workmanres.com
Hi Laura, thanks for thinking of us! But, alas, that was not us. We are still in the Texas area. Someday maybe we’ll make it up that way. Take care!