
Just a Few Rules
Before you get started here are some things you need to keep in mind:
- Any single body of water (in a particular area) may have only one set of courses – up to 2 (2.5nm and 5nm). This way everyone is racing around the same markers in your area instead of making a million courses of similar sizes. It’s first-come-first serve on who establishes each course. So get them in quick.
- The only exception to the above is if your body of water is very large, like the Chesapeake Bay for example:
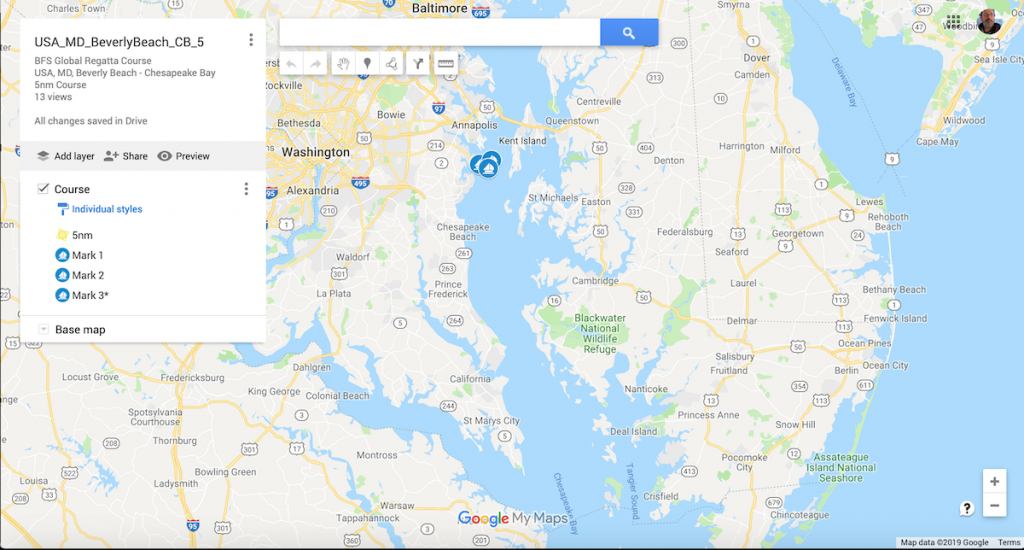
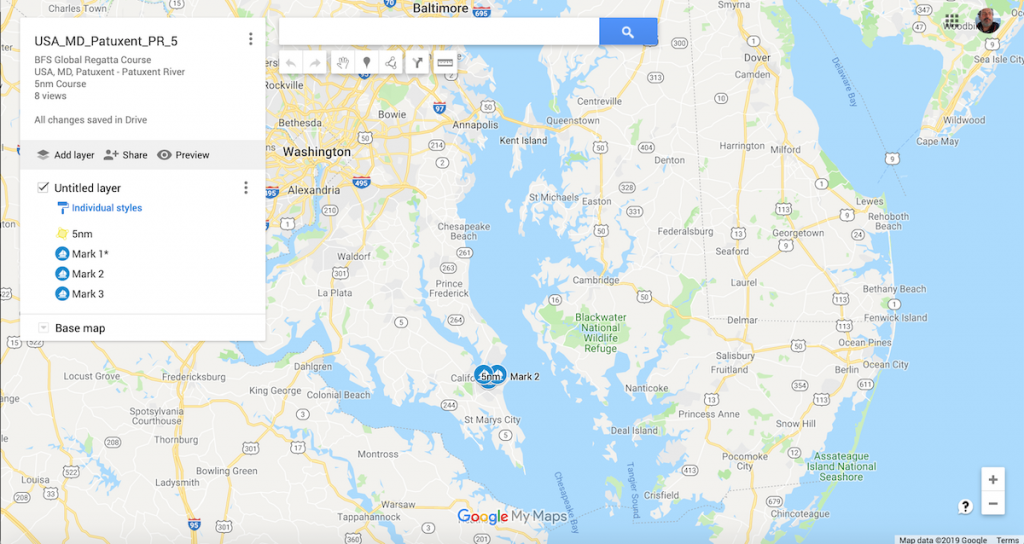
Here you can see that these courses are over 20 miles apart – so this is fine. We want to makes the courses convenient to where you sail so you don’t have to go too far to race – but we also don’t want to go overboard.
- So, let’s say for now that different courses in the same area have to be no less than 10 miles apart.
- Finally, be a good sailor! In other words, you are setting up a course that others may sail. So go out and sail it yourself and make sure it’s suitable for other boats. Make sure to list minimum depths, ensure there are no hazards, etc. Your Skipper Name goes on the course – so don’t screw it up.
How to Do This
You can lay out a course however you’d like. But remember, it’s all about speed, so you’ll want to maximize wind, current/tide, etc. to get that speed. There are no rules on orientation, windward/leeward, etc. – it’s just all about maximizing everything to your advantage.
To do this you will need a Google Account and you will need to use My Maps. The easiest way to get there is to make sure you’re logged in and do a search for “google my maps”. You’ll get something like this:
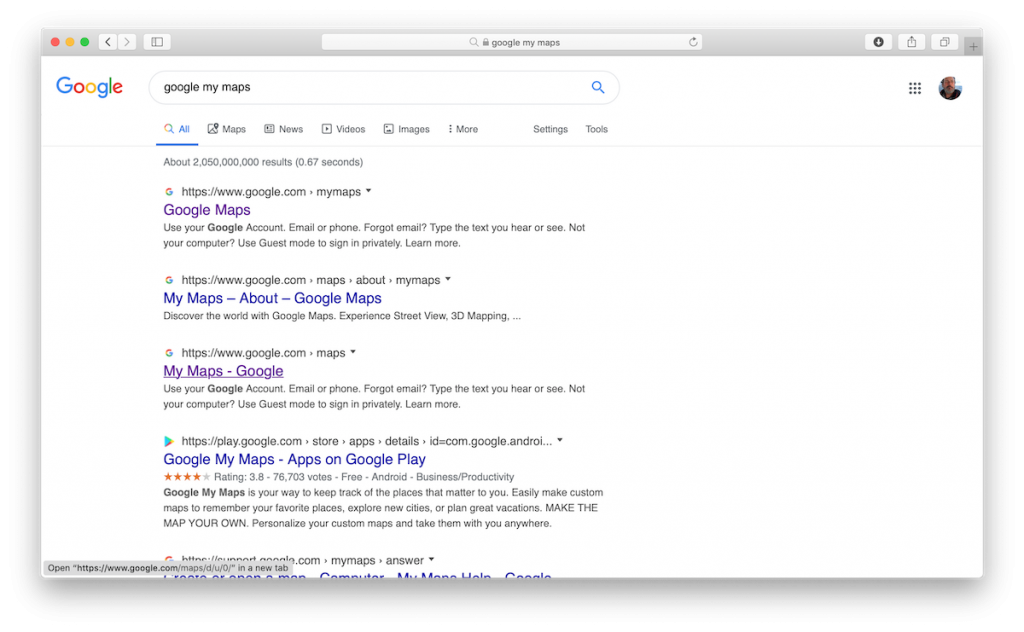
Just click on the appropriate link and you should end up on a page like this (mine already has a lot of maps – yours might not):
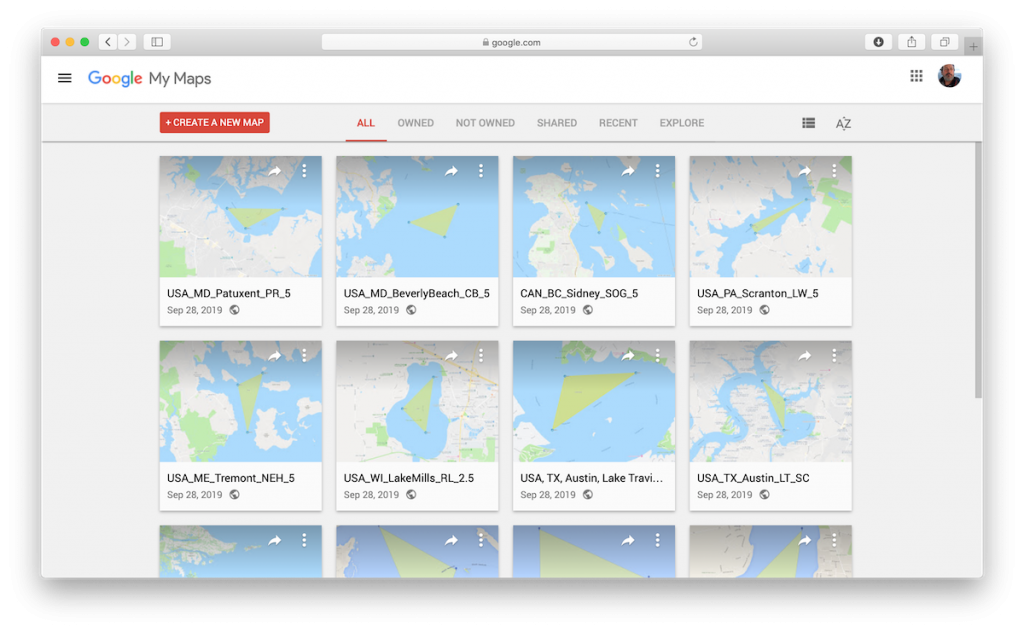
Just click on the “Create A New Map” button and you’ll get a screen like this:
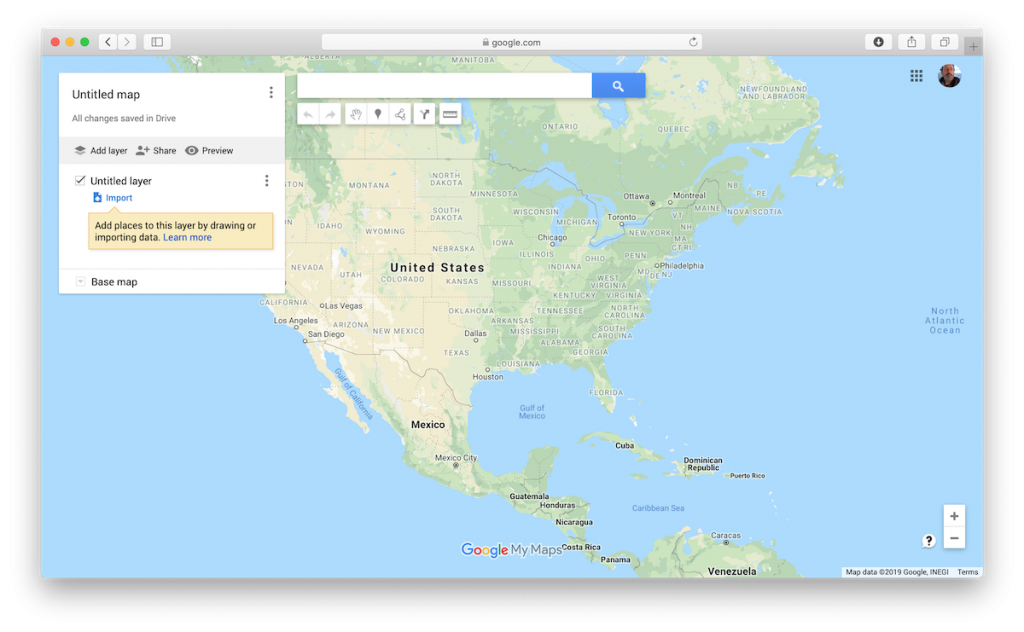
Zoom into the body of water you want to set the course on and use the Polygon tool to draw out the course as shown here:
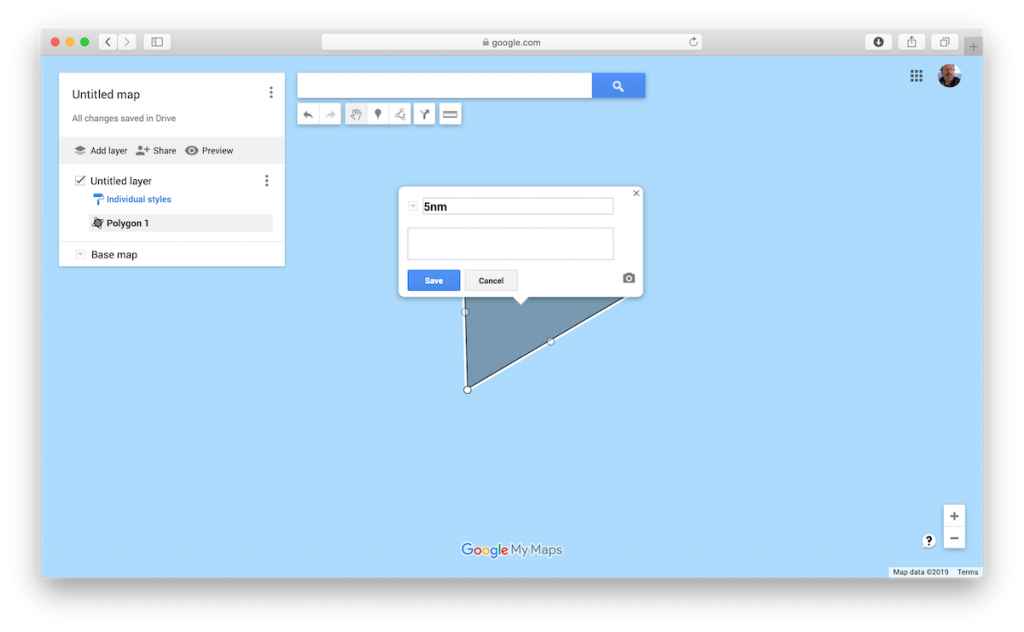
Name the course whatever distance it’s going to be (2.5nm or 5nm).
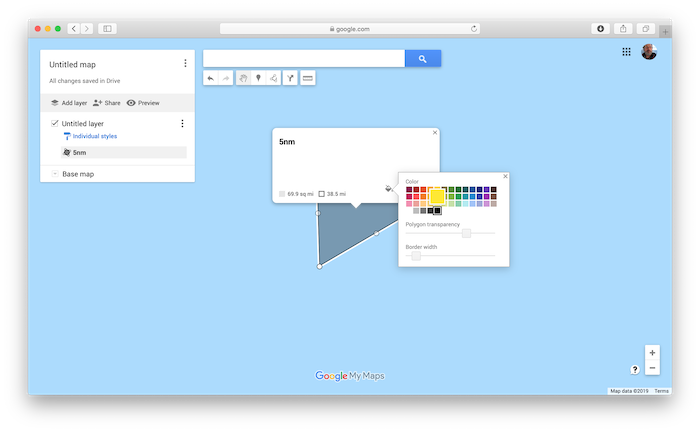
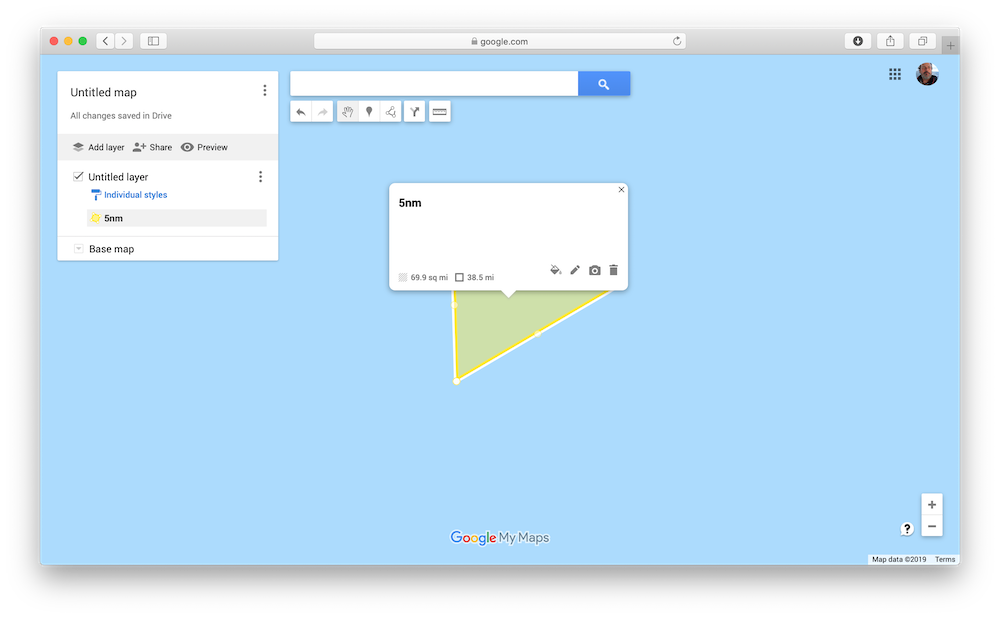
Now change the color of the course to this yellow. And you should have something that looks like this:
Next, let’s name this map and put in some details. You do this by going up to the top left and clicking on “Untitled Map”. You should then get a dialog box:
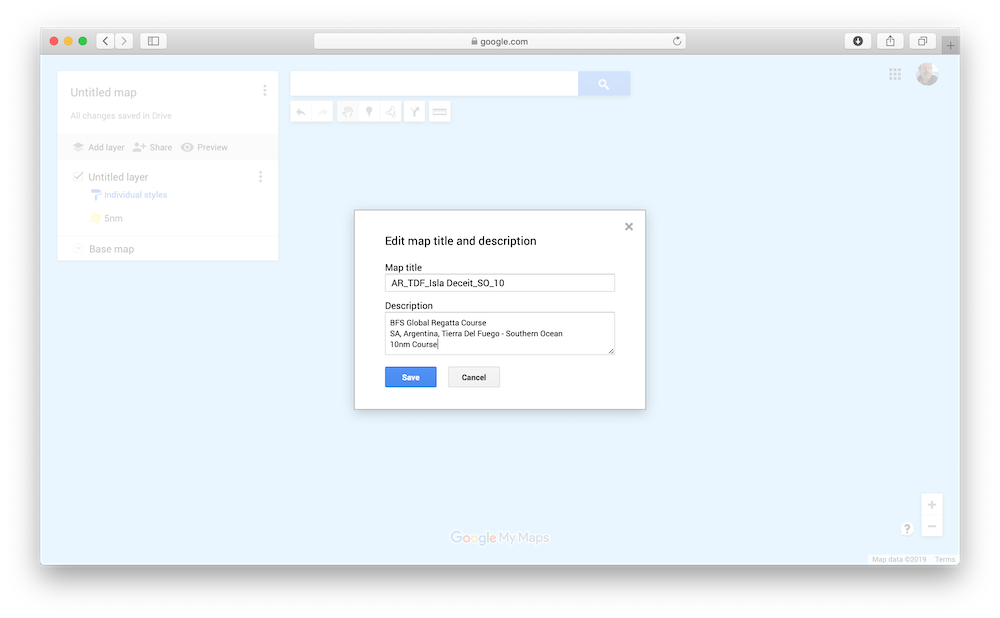
Fill it in as follows:
- As shown, for the Map File name, start with the Country Code, then state/province/etc., then nearest city, then the body of water.
- For the description, cut and paste the text below and edit it for your course:
BFS Global Regatta Course
SA, Argentina, Tierra Del Fuego – Southern Ocean
10nm Course
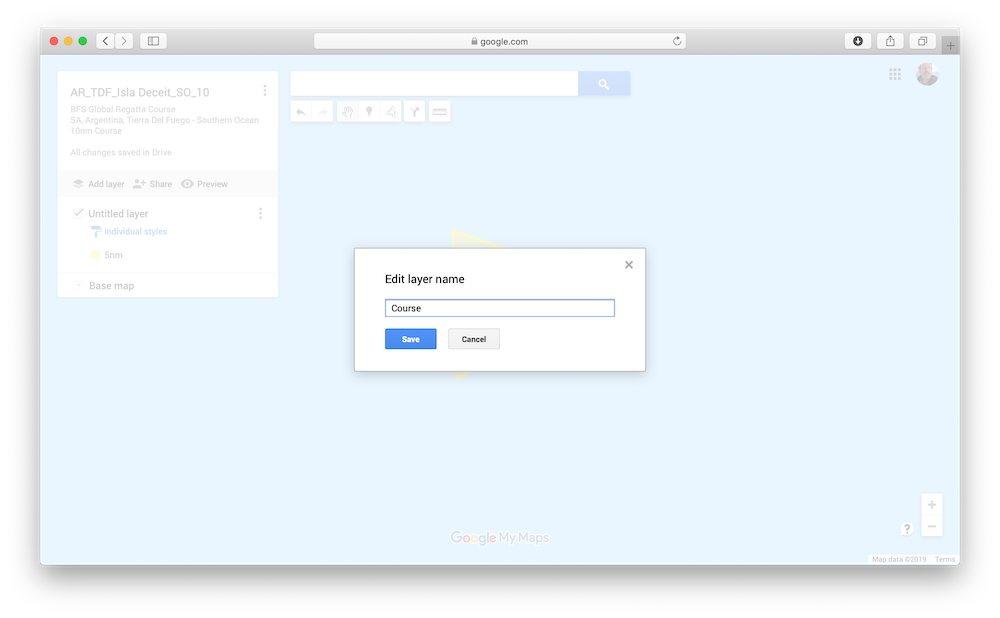
Finally, change the Layer name to “Course” as shown:
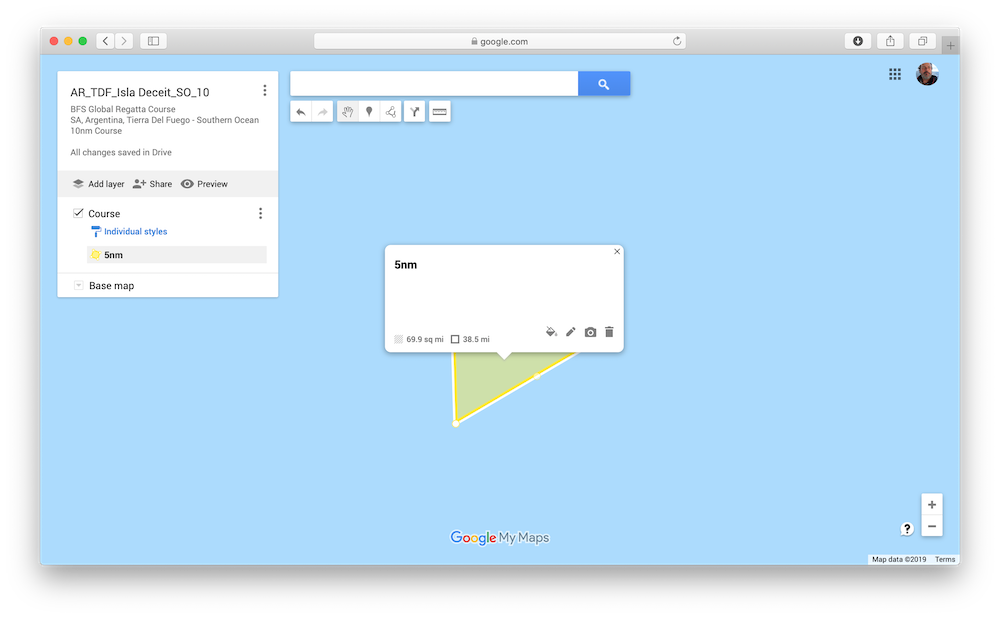
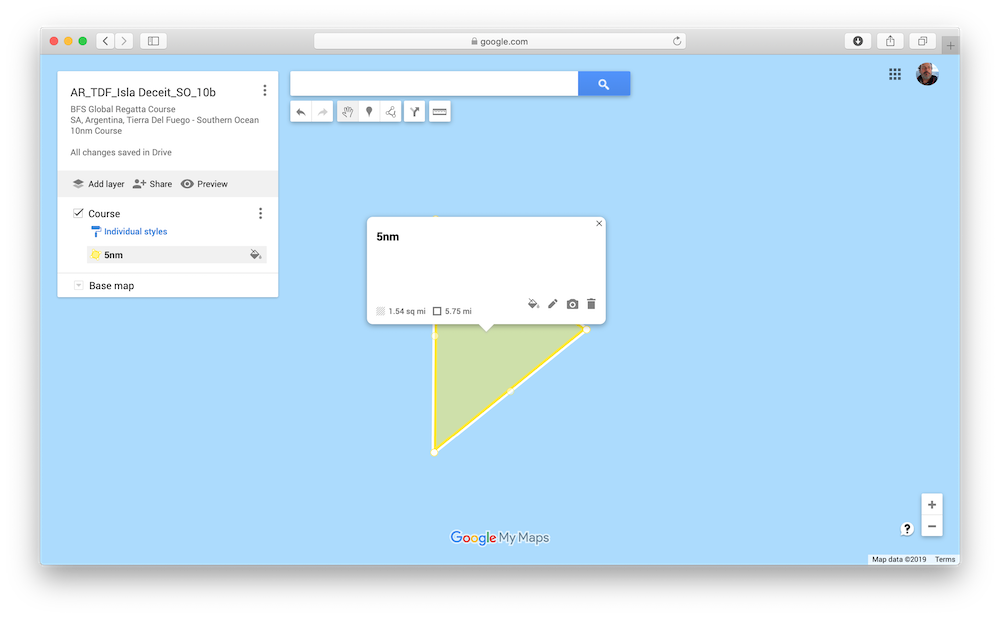
Now let’s get back to the course itself and finish it up. Clicking on the polygon brings up the dialog window. You want to look at the bottom of that window and make sure the distance is correct. As you can see, I did an extremely lousy job of drawing out a 5nm course – over 38 nautical miles:
To fix that, just click on the points of the triangle to move them as need to get the layout and overall distance that you want – with the overall course being in the position you want – while carefully avoiding all the hard bits.
It takes a bit of work, but you can do it. Bear in mind that these maps show “statute miles” not nautical miles. So to help in that conversion, here are the numbers you’re look for for the different courses:

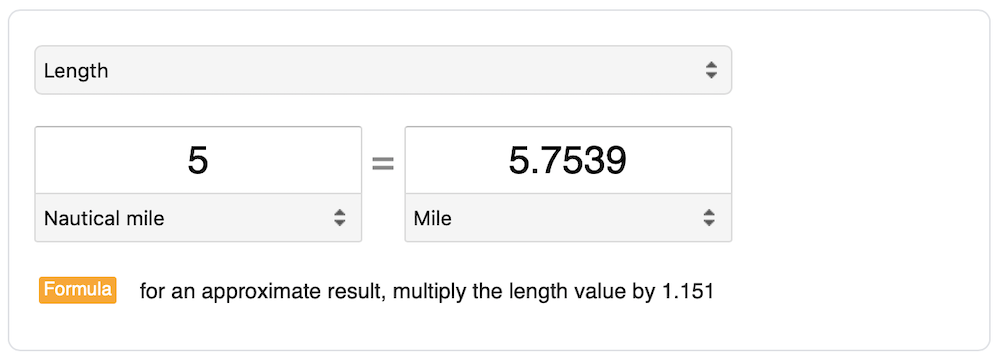
After some adjusting, you should have a course that matches the desired distance:
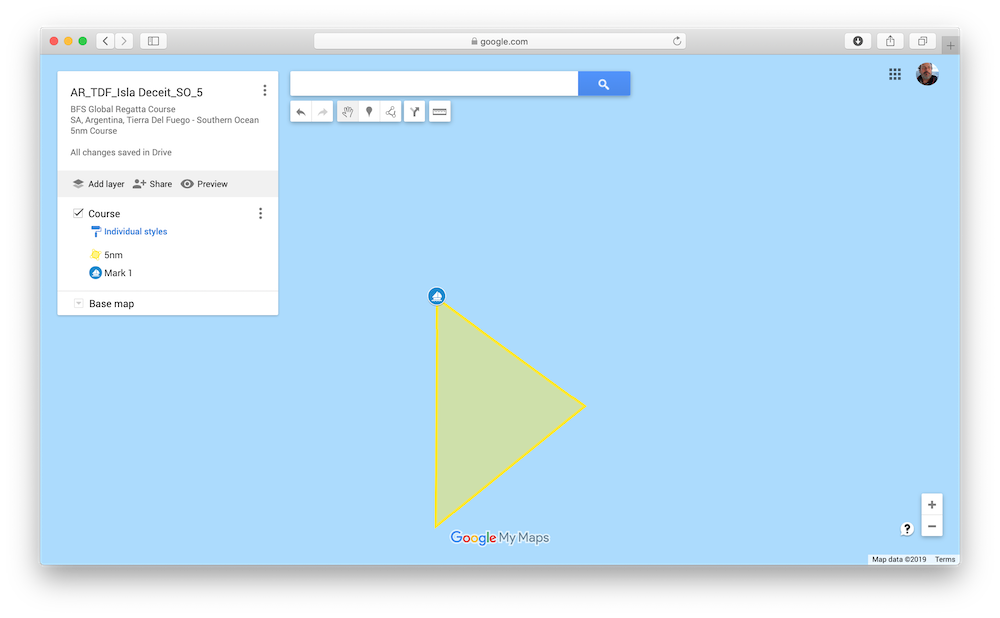
Now it’s time to drop in the markers. Remember, the order and/or direction doesn’t really matter. So let’s just pick a point and make that Mark 1. Clicking as near to the point as possible puts that marker in the right spot (kind of a snap feature):
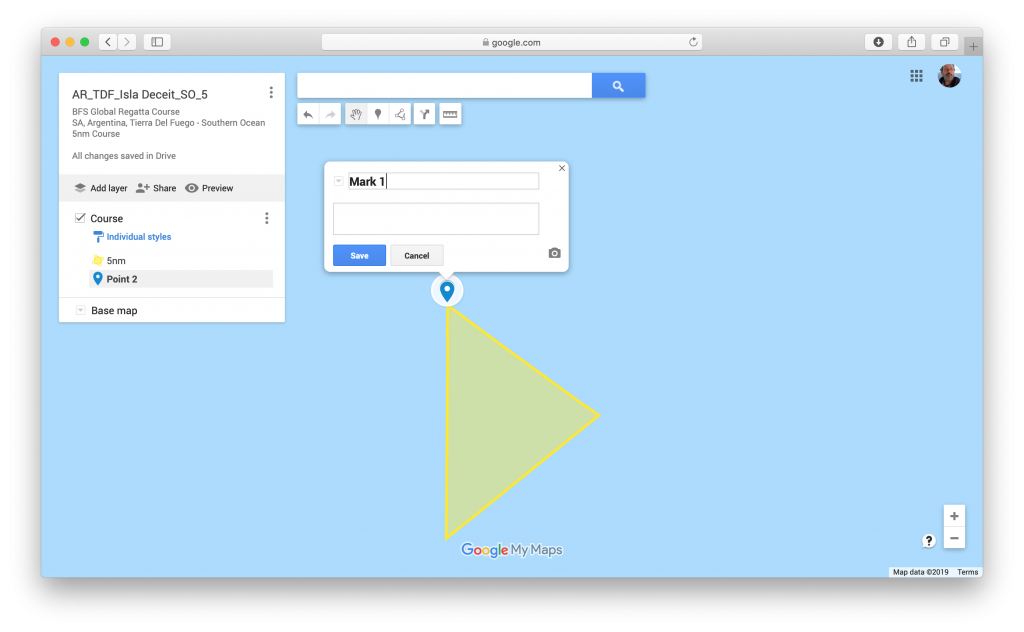
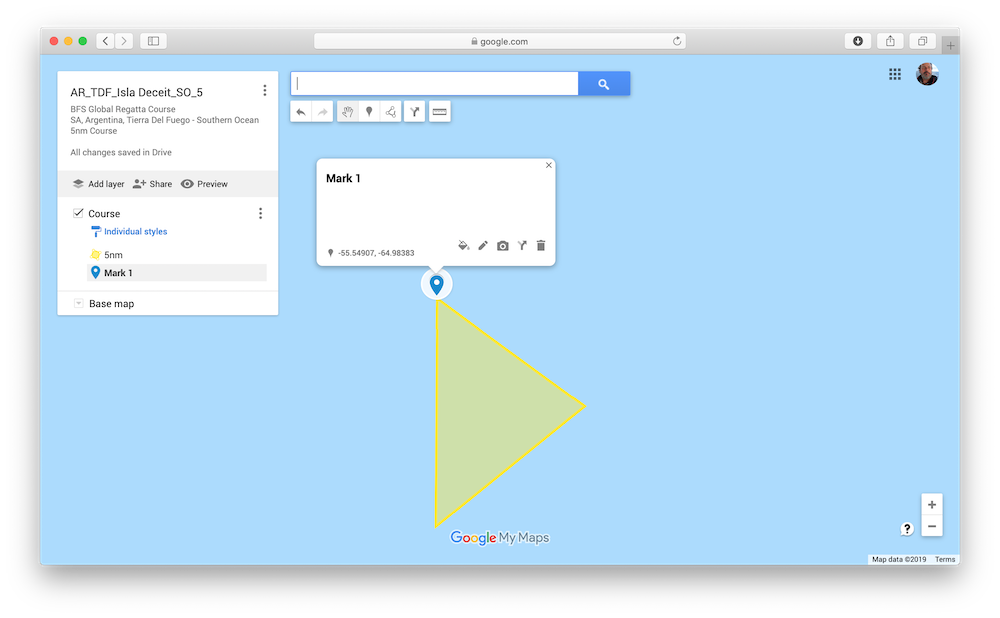
Name it Mark 1 and hit Save. You’ll see the coordinates in the lower left of that box. Now click on the paint bucket to format the mark…
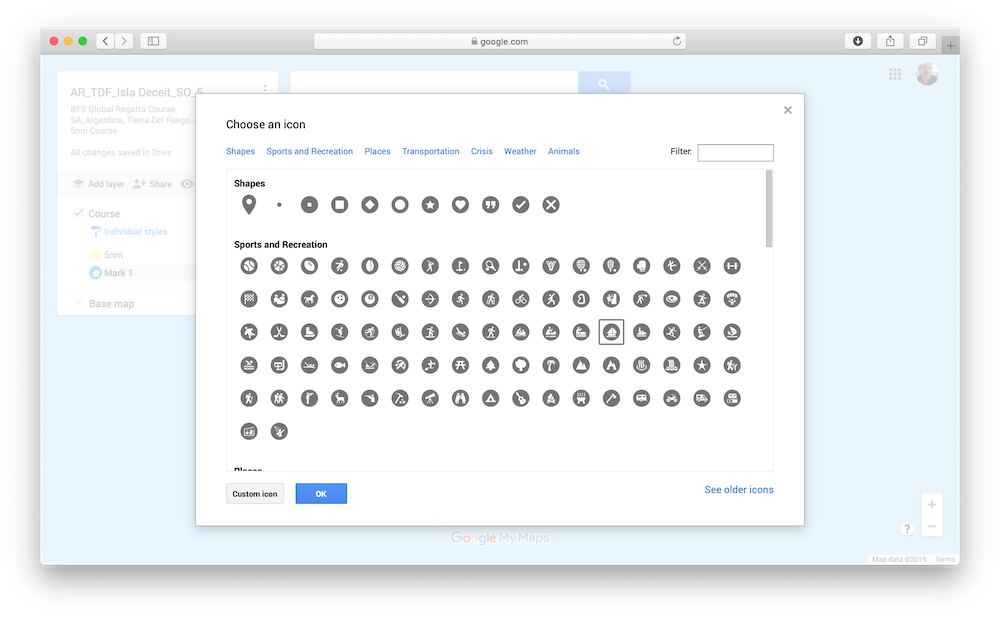
Click on the “More Icons” button…
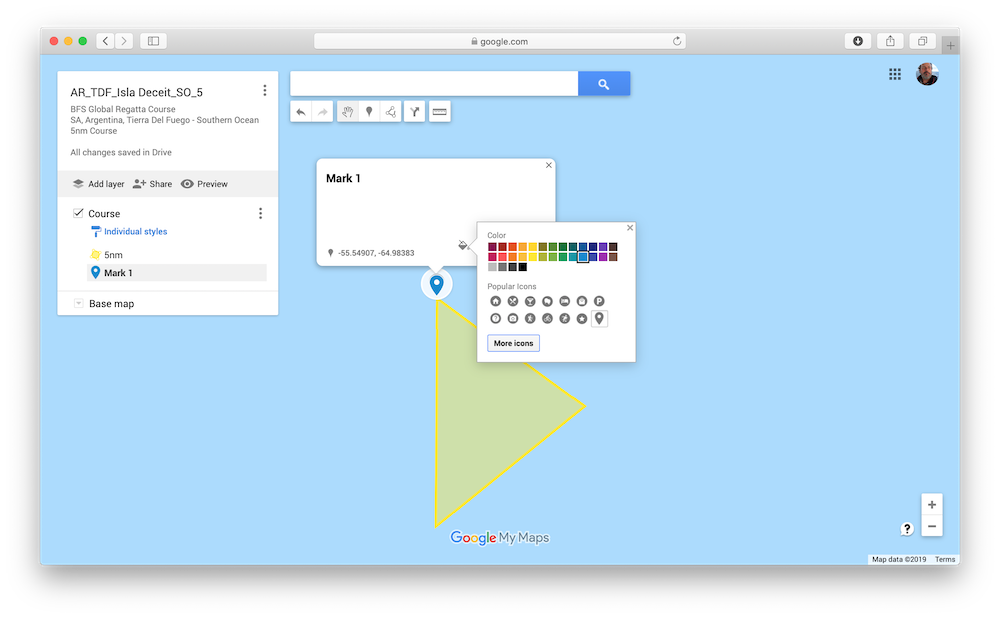
And select the sailboat icon – because, well, you know…sailing…
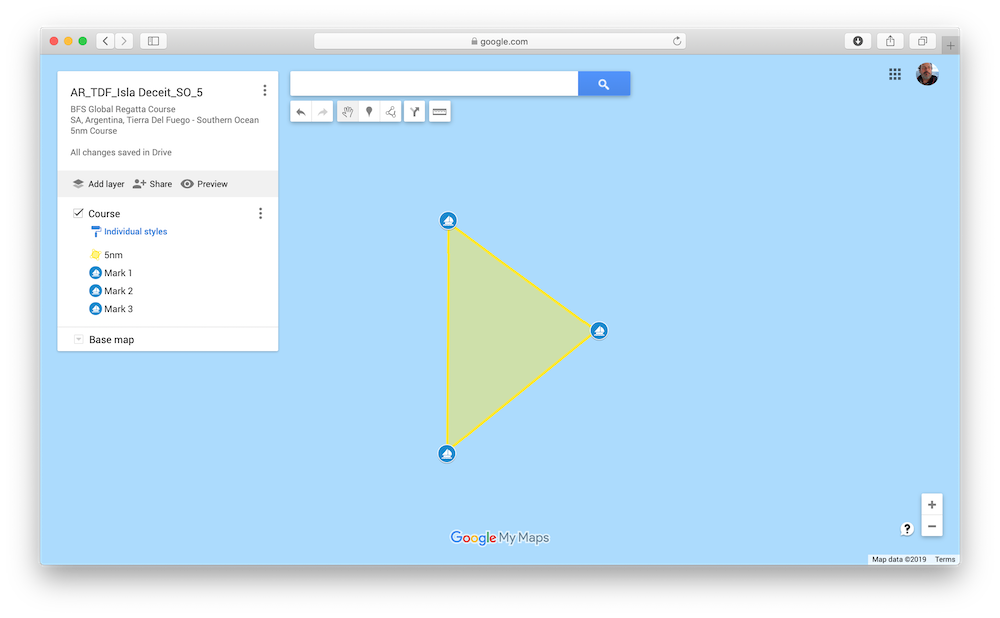
Hit Save and you should now have the first mark laid in and formatted:
Now lay in the other two marks so you have the following:
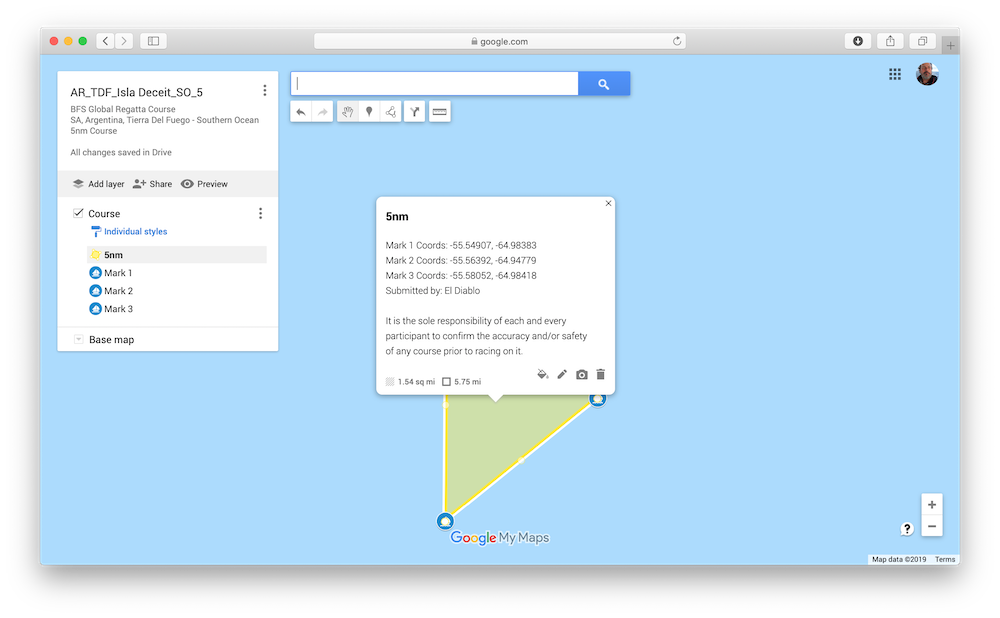
Next, you need to finalize the description of course. That description needs to include the coordinates for each marker and will be in the following format (edited as needed):
Mark 1 Coords: ….
Mark 2 Coords: ….
Mark 3 Coords: ….
Submitted by: your username
It is the sole responsibility of each and every participant to confirm the accuracy and/or safety of any course prior to racing on it.
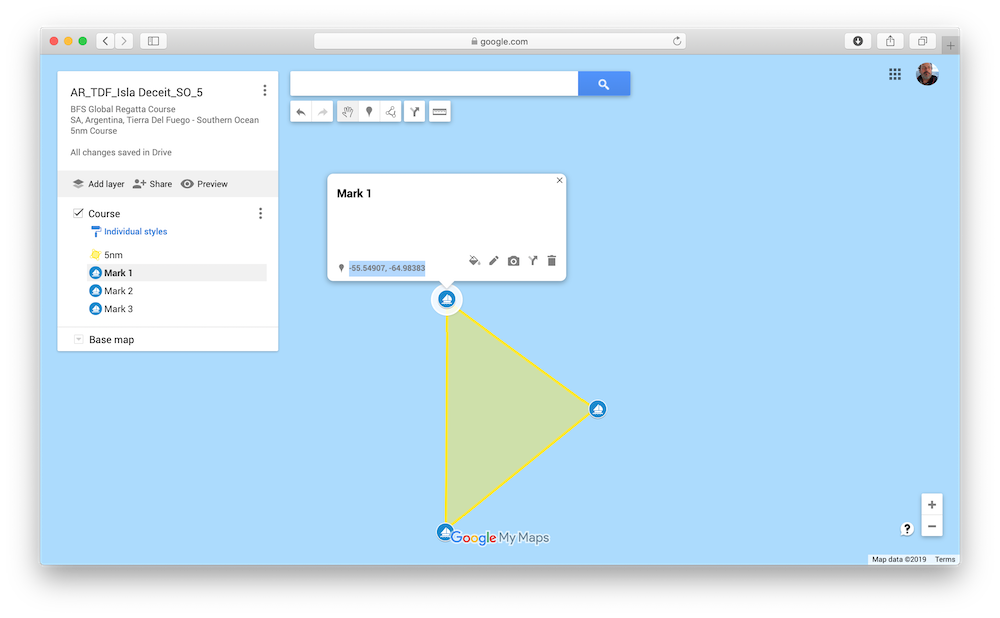
Drop the above text in first by clicking on the Edit icon. Then close this pop-up and get the coordinates for each mark
To do that, just click on the mark and copy the coordinates at the lower left of the box…
Then click on the course triangle again and then the Edit icon, and paste the correct coordinates for the mark into place.
Get all that info in and your info box should look like this:
That’s it! You’ve now built your first BFSGR course. The last step in the process is to share it with us. Here’s how…
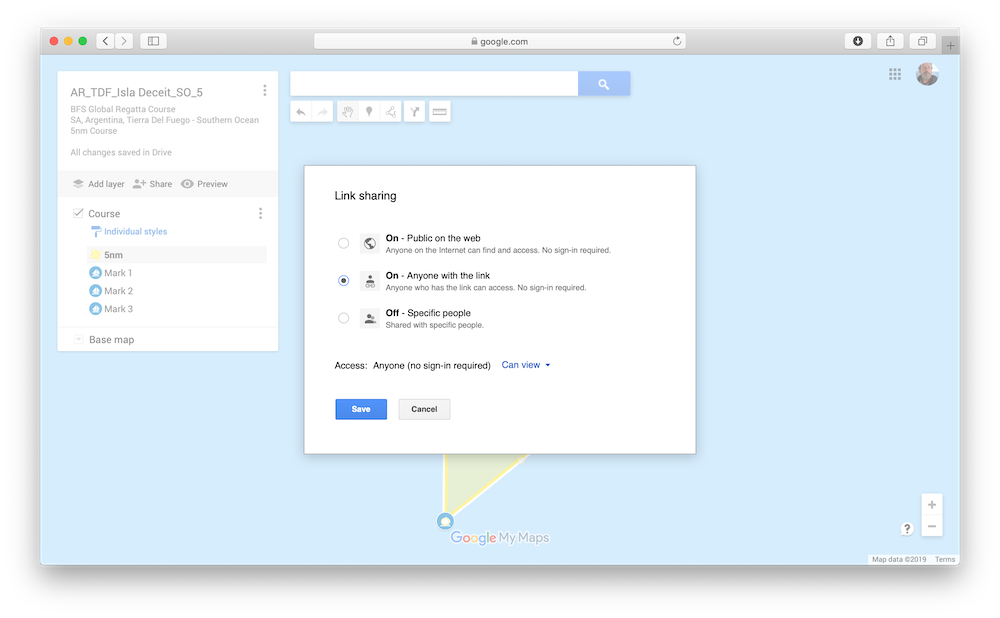
First, click on the share icon in the window to the left…

Now click on the “Change” link for the privacy settings. Set that privacy setting to “Anyone with the link…”
Hit Save. And finally just email us the highlighted link in this top field in the window…(use our email address you see in this image):
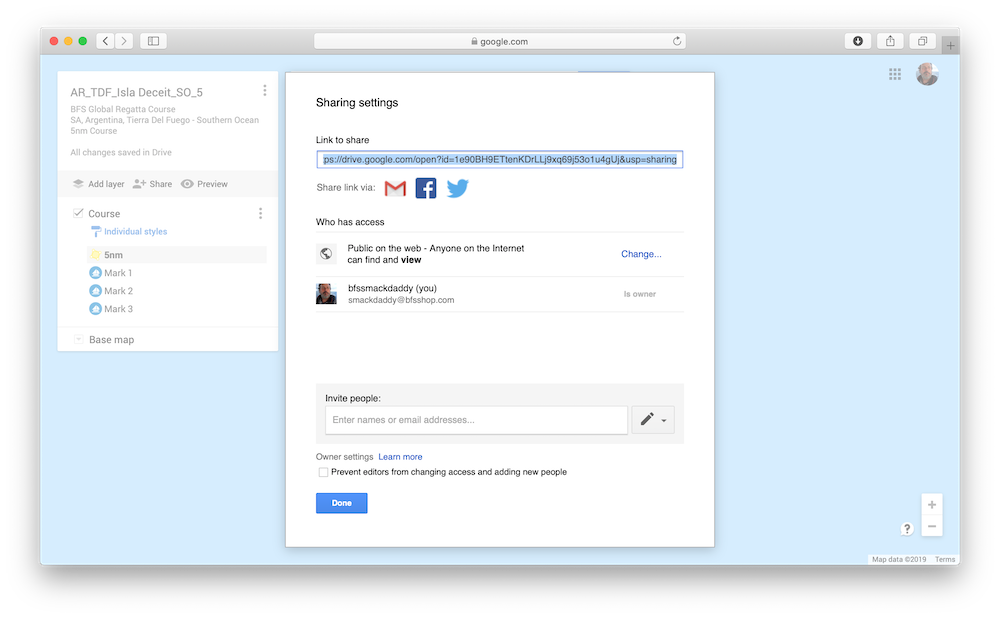
And you’re done!
Addition To The Hallowed Halls
We’ll review your course and get back to with you any questions if something is off. Otherwise, if it meets our incredibly high standards, we’ll make a copy of it and add it to the other courses on our site.
And done!