
Beach Cats in Rehab – Part 2 of 5
Okay – time for the next installment…
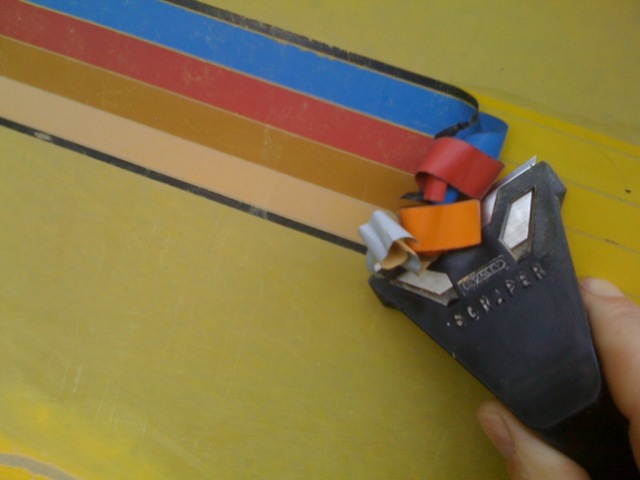
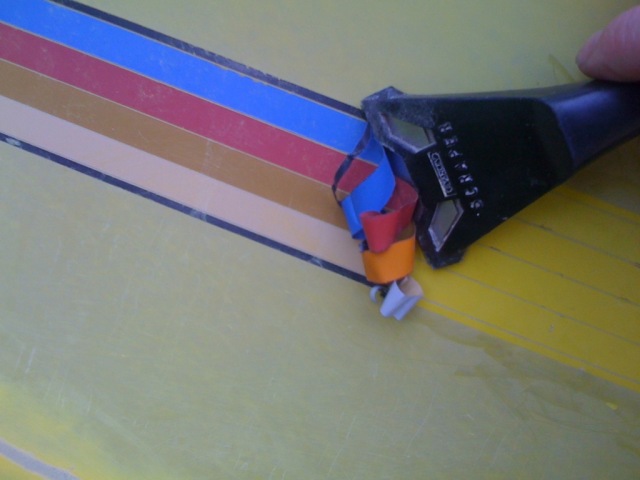
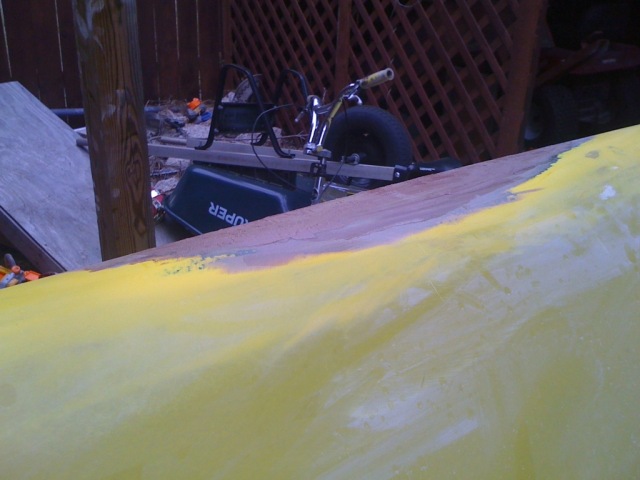
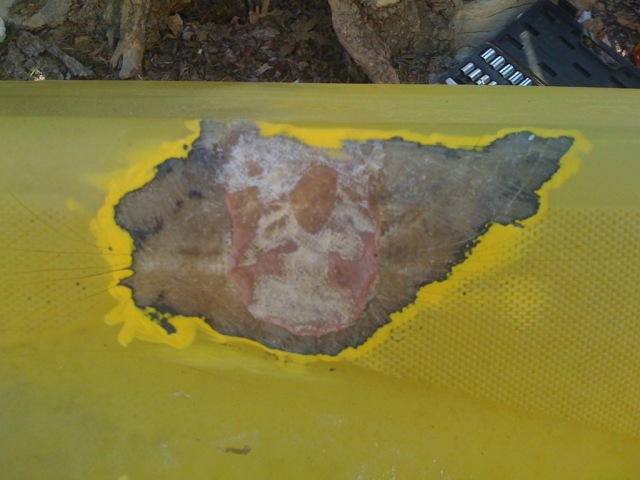
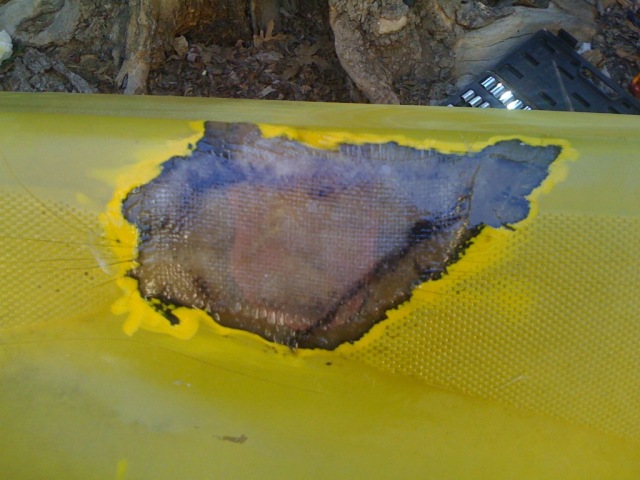
We left off having glassed-in the major damage on the hull bottoms, roughed in the fairing compound, and started in on the stripe removal.
The stripes were pretty easy with a top-of-the-line utility scraper (make sure you buy the one that says “Scraper” on it like mine). You just have be careful to keep the blade really flat in order to not gouge the gelcoat, and work side-to-side in a circular motion…
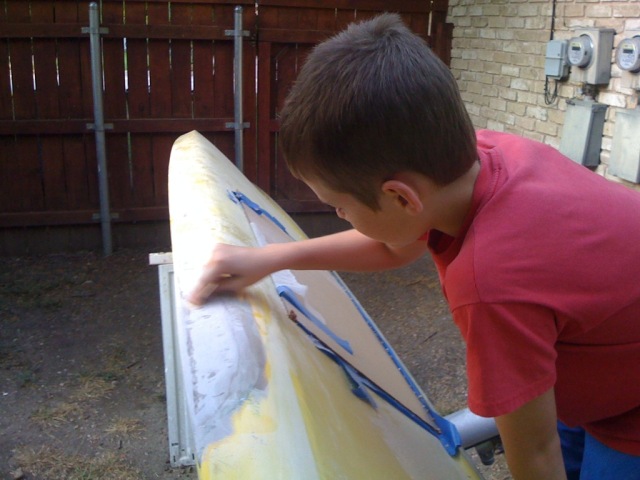
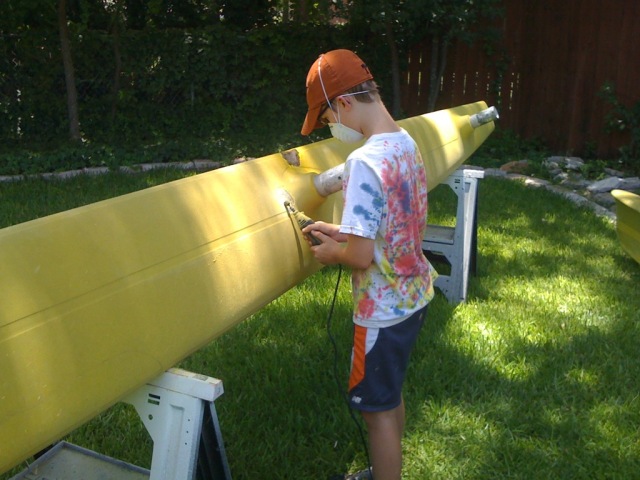
Next was sanding and fairing the patches. Since sanding is the dream of every young kid, I made my boys help with this:
It took about 5 layers to get it just right…
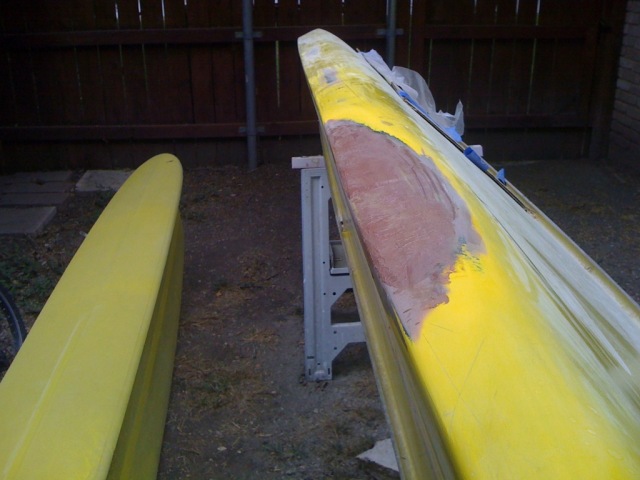
But it came out very nicely…
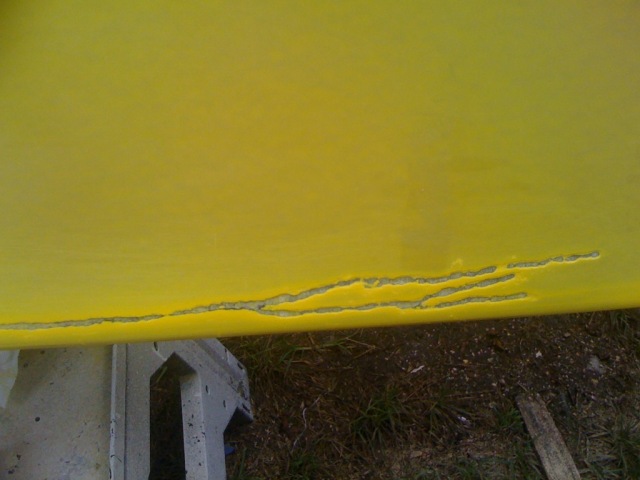
Next came the glecoat cracks. We used a conical grinder drill bit and went down to the glass. Sanded back the edges, and filled with fairing compound…
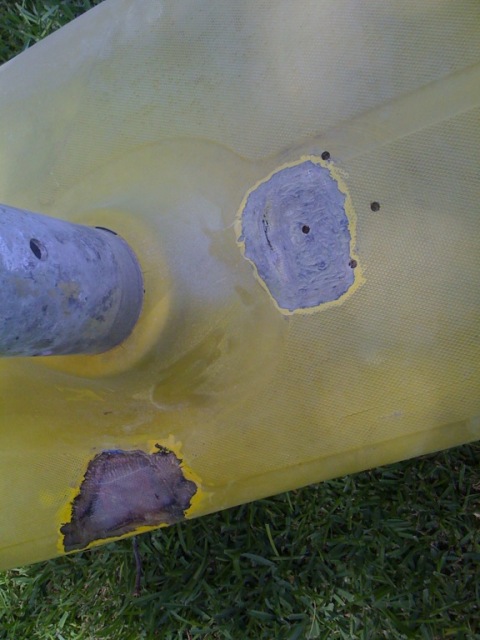
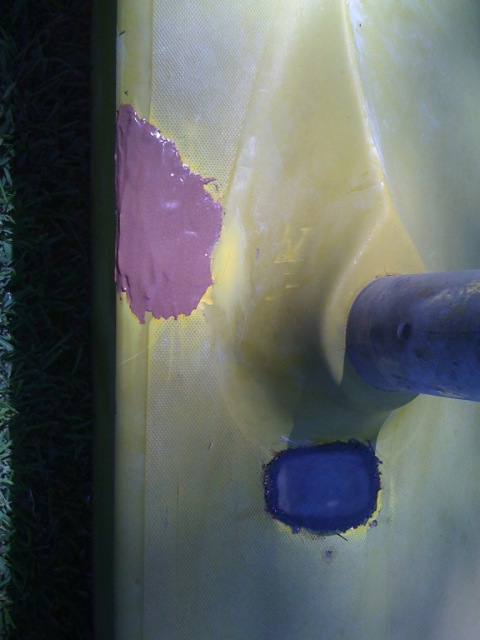
Next came the deck work. Overall the decks are fairly solid, but there were 3-4 areas that had taken serious hits and/or were soft. Two of the worst areas were right at the forward starboard pylon.
Crushed deck – and unbelievably bad patch job with drywall tape..
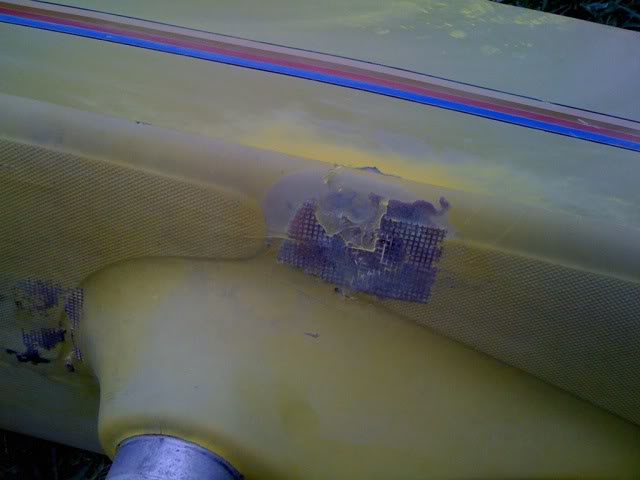
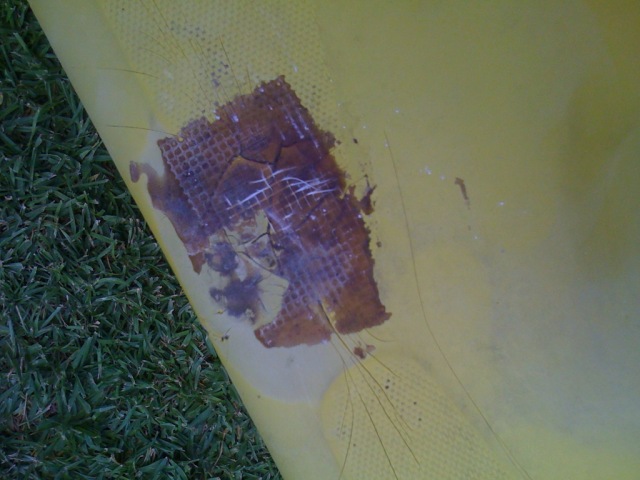
Delam with crack in top-deck at pylon..
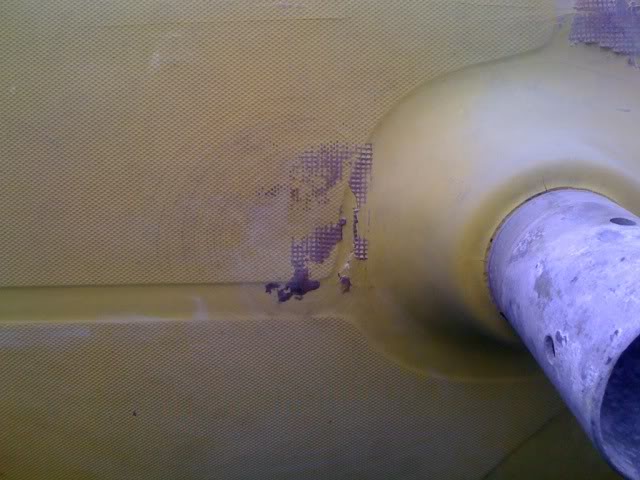
So, we sanded them down to the foam and started rebuilding…
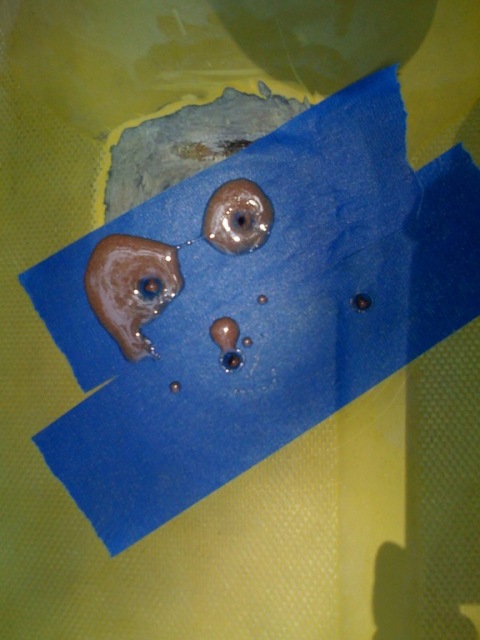
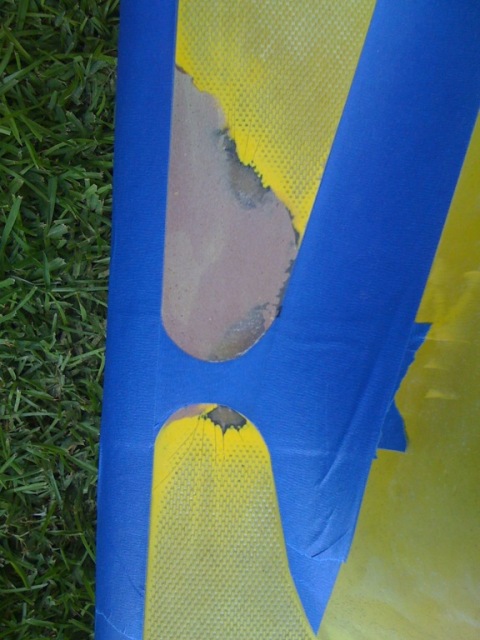
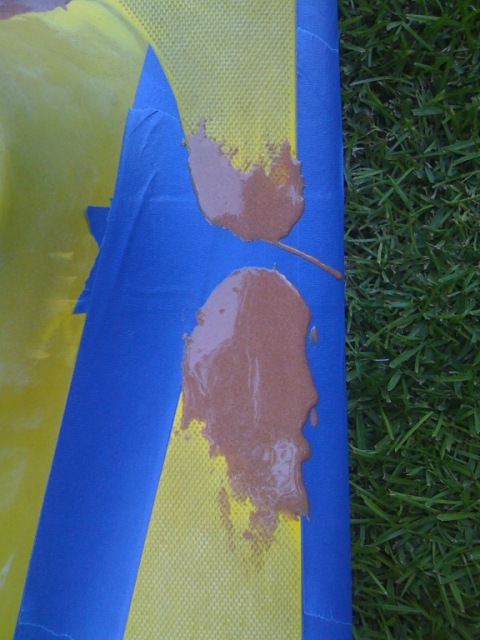
We drilled 1/4″ holes in the top skin ONLY and used the widely touted epoxy injection method (using an old chalk-line chalk container to squeeze it in).
One of the things I blew off in this technique was pre-taping the deck. Most people first tape off the entire area then drill to keep from making a mess on the deck. That didn’t make sense to me, so I just drilled where I needed to, then taped over the holes to protect the immediate area, then punched through them for the fill. Worked fine and saved a lot of effort.
If you squint just right, you’ll notice it kind of looks like the spawn of George Washington and Buckwheat. But I digress…
Next came the fairing and sanding of these areas…
Then the taping and buildup to match the no-skid height…
I’ll try to match the no-skid pattern in the gelcoat when I get to that point.
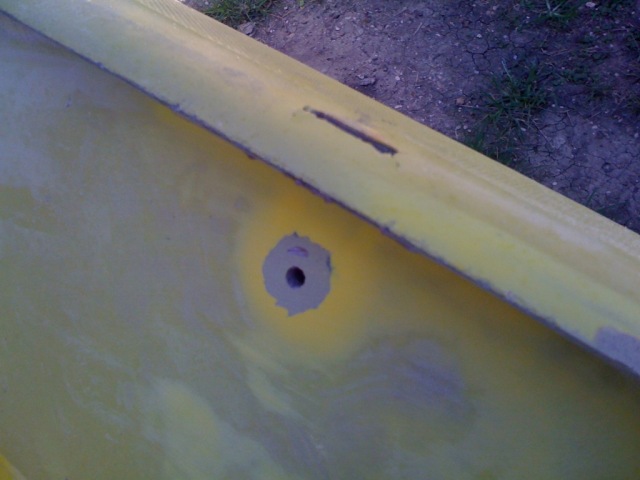
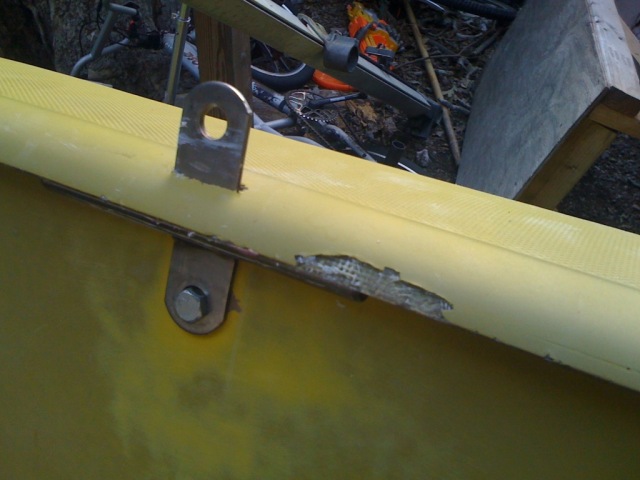
Finally, I had to fix the shroud chainplates. The bolts were missing, as were the interior nuts, so they were only held in place by the bar that ran under hull lip.
I drilled a bigger raggedy hole (not obsessing at all over the type of bit to use), bought a couple of these bad boys for next to nothing…
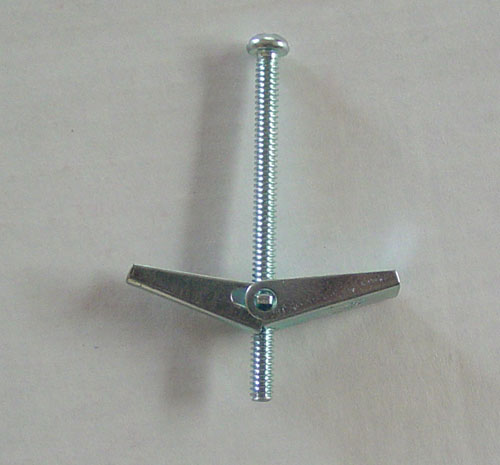
…epoxied them into place and filled the hole…and bada-boom!
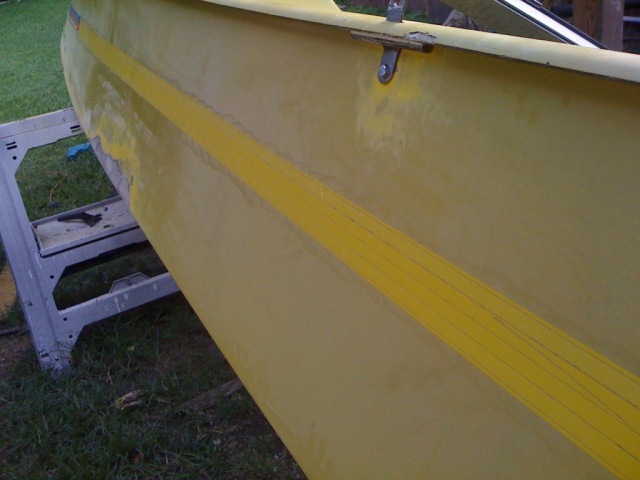
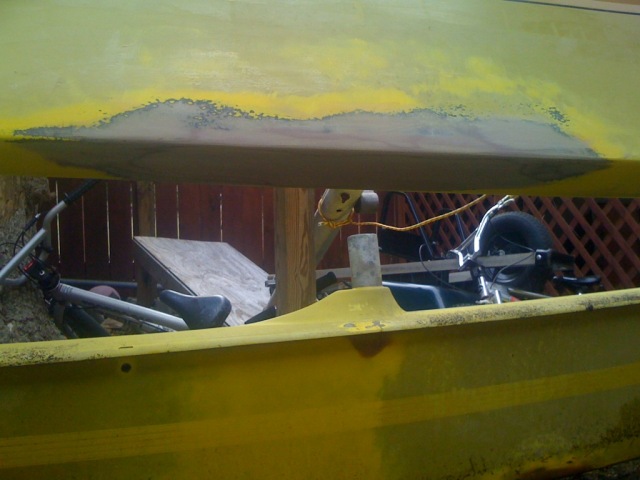
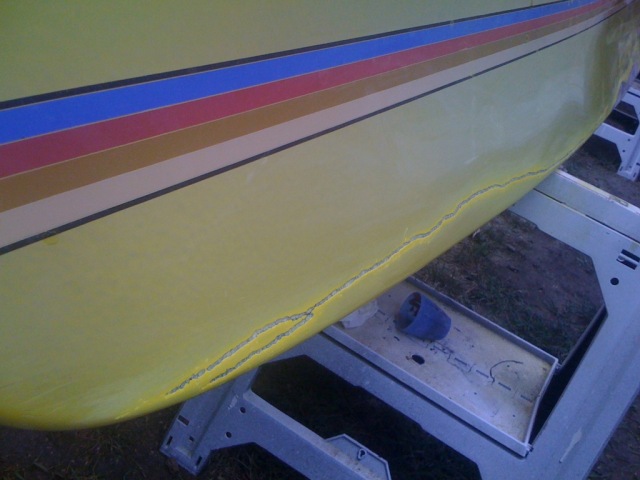
We faired the rest of the major gouges, scraches, cracks, etc. (like you see in the pic above) and finished up injecting the other softspot. Then it was time to figure out what to do about the nasty looking finish.
I read a crapload of posts and articles about paint versus gelcoat. But before even going down that road, I wanted to see if it was possible to polish off the gunk to the gelcoat finish below.
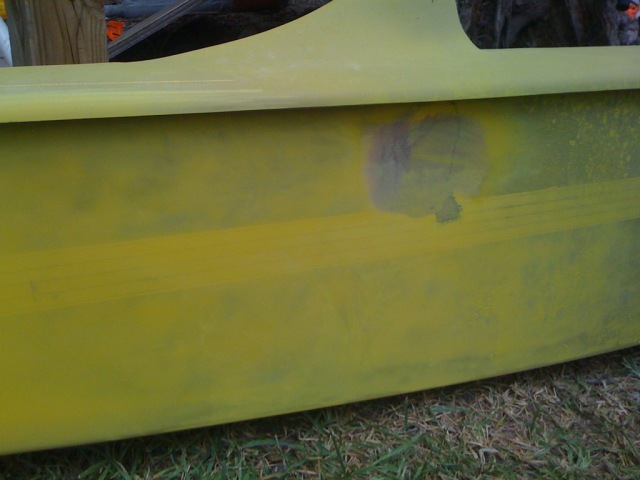
I started with heavy cut compound, and it began to help…but the skank ran deep…
Then I used an orbital sander with 120 grit just to see how much I’d have to take off to get to good stuff. I finally started getting there, but the coat was just a bit too thin…
Stripe is disappearing:
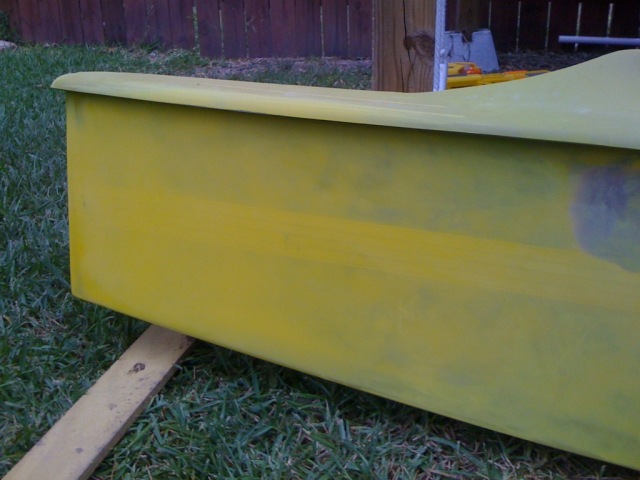
Primer is appearing…
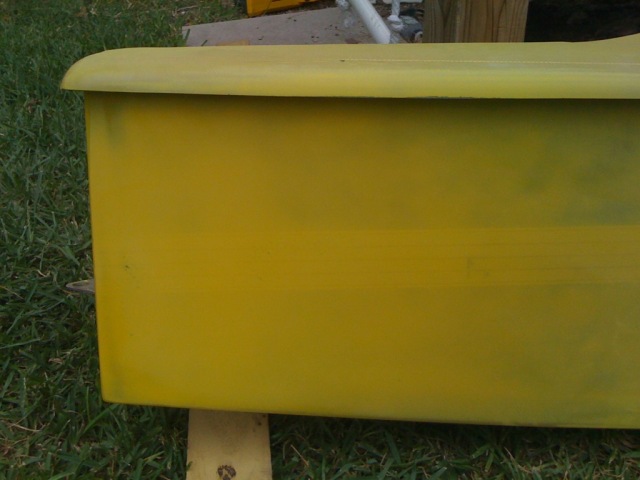
So, this wasn’t going to work. Now I needed to make the decision as to whether I would paint or gelcoat. Gelcoat is a bit cheaper, but more of a hassle. Paint scratches so easily, especially on a boat like this that takes a beating.
So, I’ve decided to roll this gelcoat stuff on…
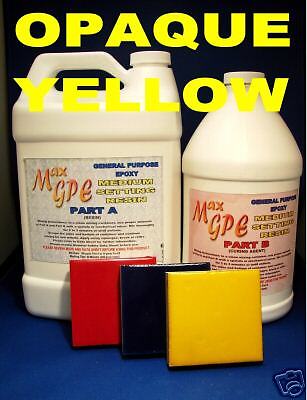
A gallon costs 1/2 what the boat cost. But it’ll be an interesting experiment. I’ll let you guys know how it turns out.
+++++++++++++++++
Total spent to date: $478.