
Beach Cats in Rehab – Part 3 of 5
Okay a bit more progress…
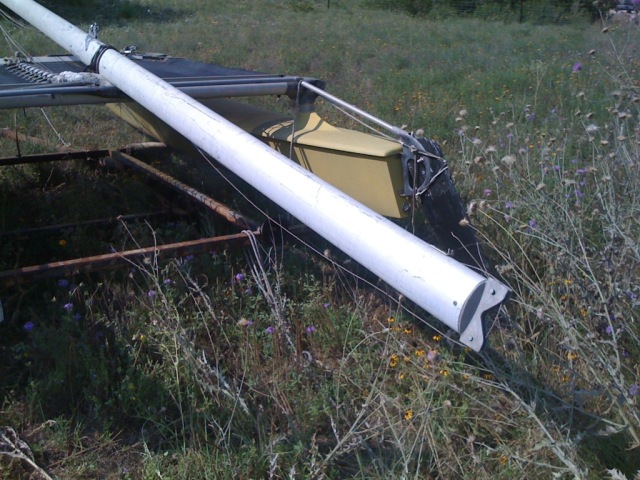
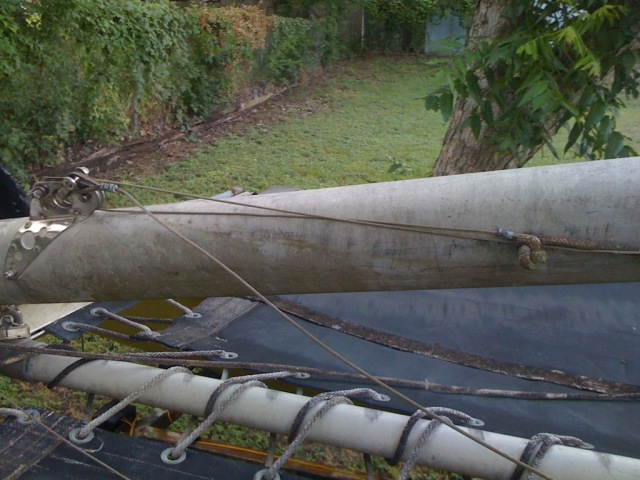
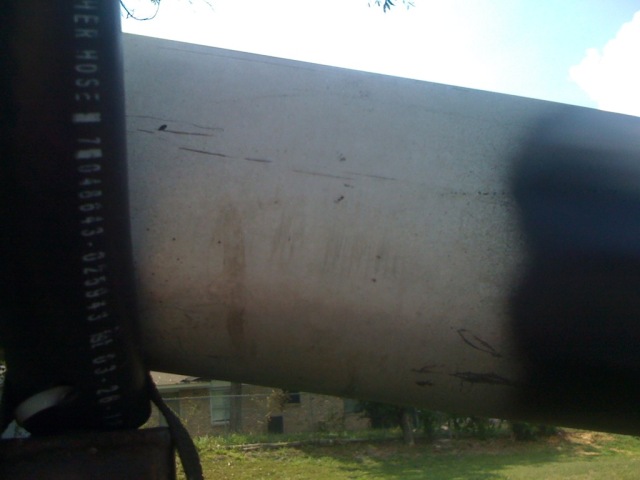
The mast was pretty banged up, stained, scratched, you name it. Here’s a couple of pics of the before…
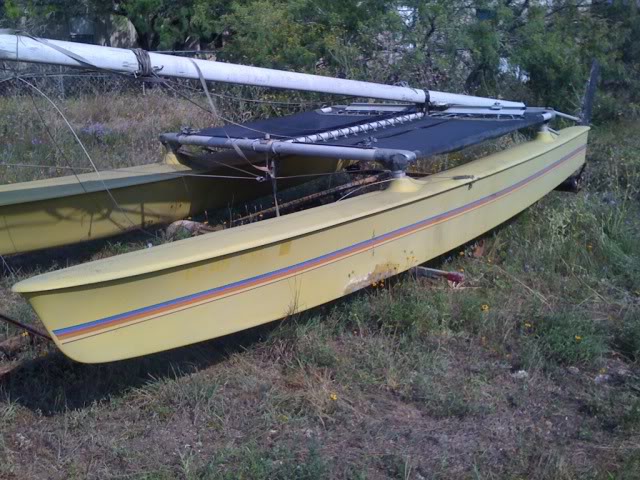
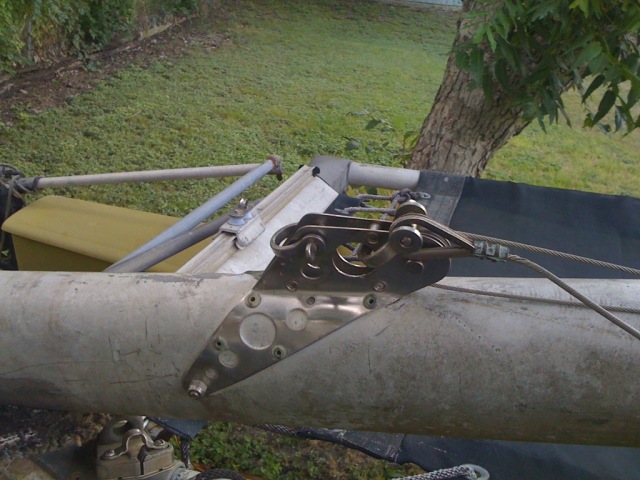
I had already painted the castings with a satin black spray paint – and I had a can or two extra, so I thought, what the hell, and tore into the mast.
First, I power-washed the whole thing, used a scrubber to get the heavy stuff off, then did a final pass with acetone on anything gooey.
I DID NOT get crazy with sanding, fairing the rough spots or dents, etc. I didn’t care about that stuff…I just wanted it to look good from 10′ away.
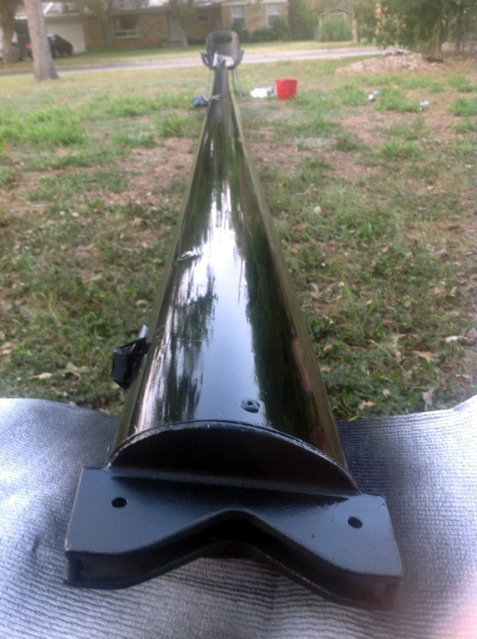
After that, I taped off the shiny bits, donned the mask and rattled the can…then…
I put on 2 coats along the whole thing – and it was looking okay…
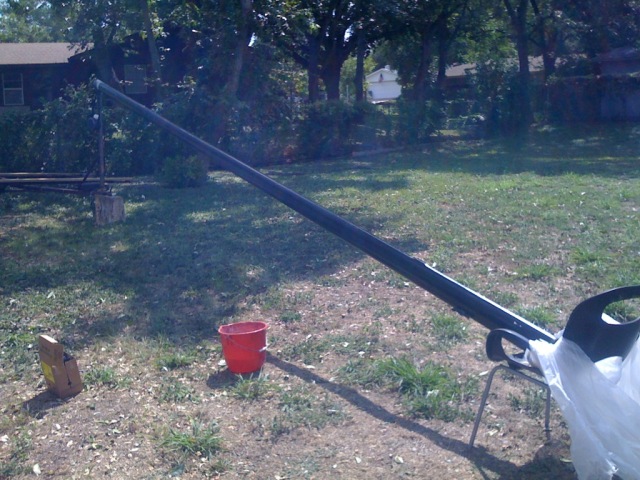
The problem was, I couldn’t quite figure out how to blend the paint well enough to get rid of the overspray pattern…
There would be beautiful shiny spots, then dull spots. That just wouldn’t do.
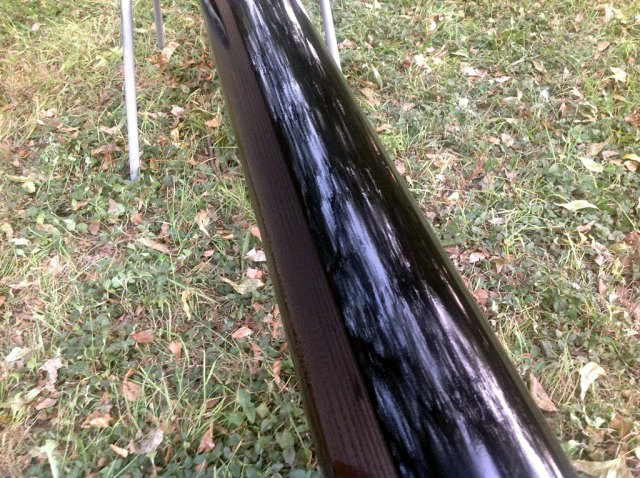
So, I hopped on Youtube and looked up “spray painting a car” – and found a video that explained it. I was “doing it backwards”. In other words, I was getting a really nice flow on the broad part of the mast – then I’d go to the leading/traling edges and screw up what I’d just done.
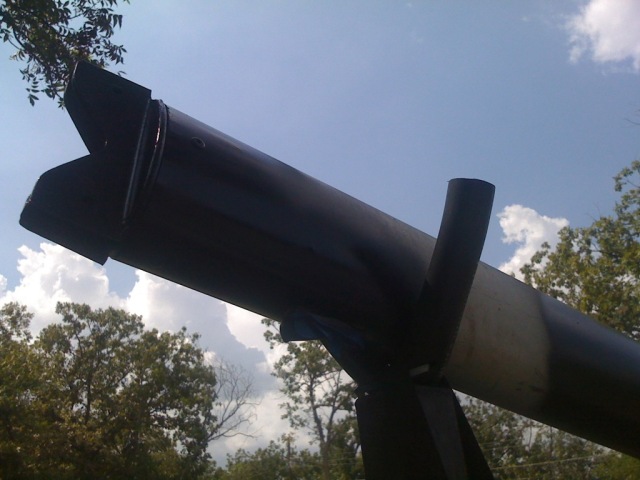
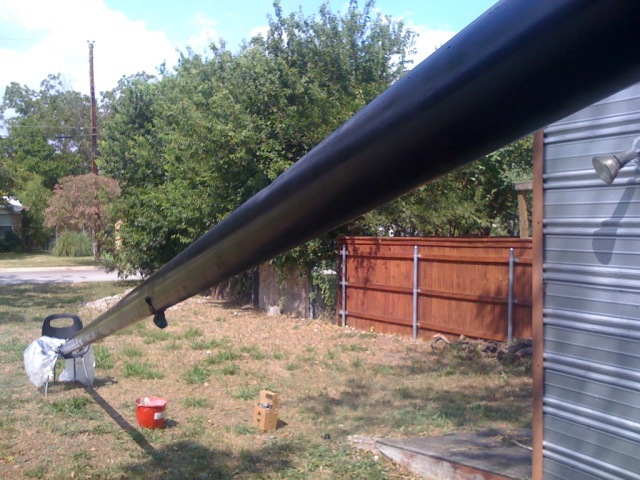
I switched it…spraying a clean flow on the edges, then doing the broad side. Worked like magic…
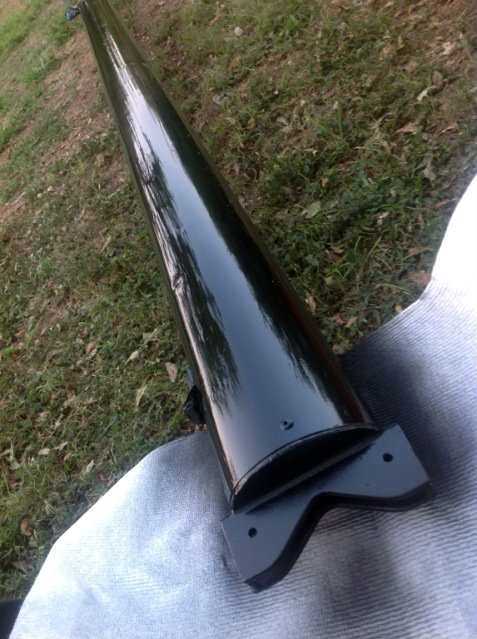
Not bad for Valspar spray paint eh? We’ll see how long it lasts before it’s trashed. Even then though, at $4 a can, I can do A LOT of touch up for cheap.
I used about 9 cans of spray paint ($36) – and spent a total of maybe 5 hours doing this thing.
Next comes painting the hulls. Stay tuned!