
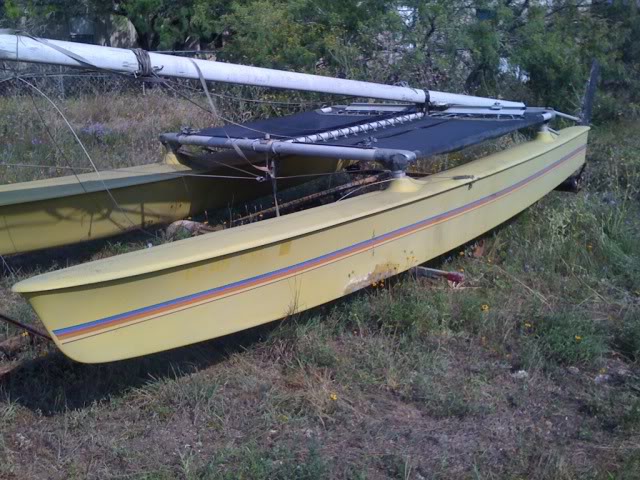
Beach Cats in Rehab – Part 1 of 5
Okay – so begins the epic saga to “fix up the old girl”…
My first round of advice, if you’re going to buy a crappy old beach cat, make sure it’s ready to sail as-is. You can spend a fortune fixing things if you’re the kind of person that “wants to do it right”. I’m not that kind of person – at least not for this boat. I paid $200 for the boat, trailer and 2 sets of fairly good sails. And I could very easily spend another $1,000 or more if I wanted it to be mint. I don’t.
I just want to use it as a learning and fun opportunity for me and my boys. We can learn about fiberglass work, rigging, painting, etc. without worrying about screwing something expensive up. Then we can have a hell of a lot of fun learning to sail a cat – until it falls apart. If we love it, we can then buy a Nacra F18 or something.
So, this project is all about seeing how inexpensively and creatively I can get this thing looking pretty tasty (from 20′ feet away) and sailing pretty well (at least on days it’s not blowing 70 knots). It’s kind of like bl’s “Low Buck” thread, where I’ll ask for advice on how cheaply this stuff can be done; then report back on how much of a disaster (or success) it was.
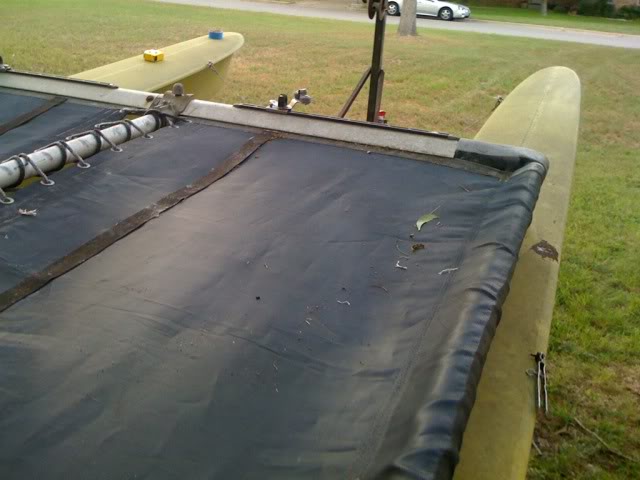
The first order of business was a good power-washing, then taking the whole thing apart. The tramp needed re-stitching, the castings needed painting, and the hulls needed a hell of a lot of work.
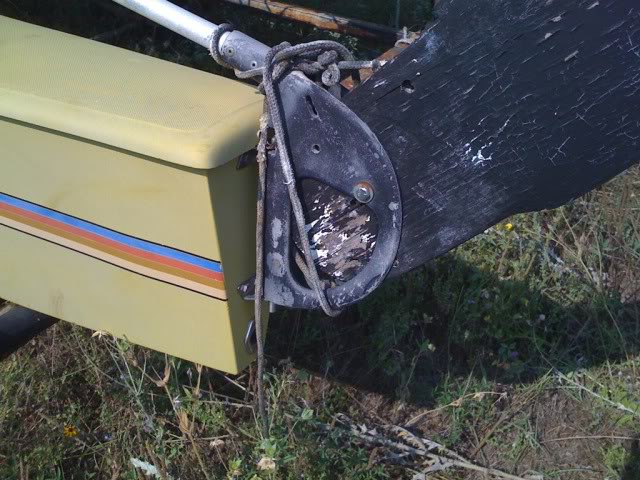
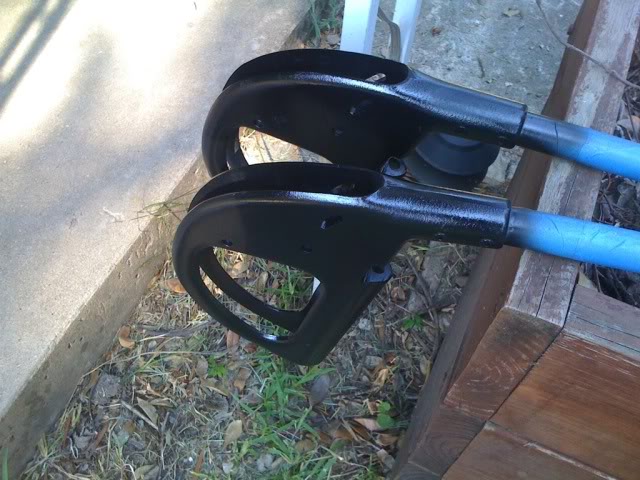
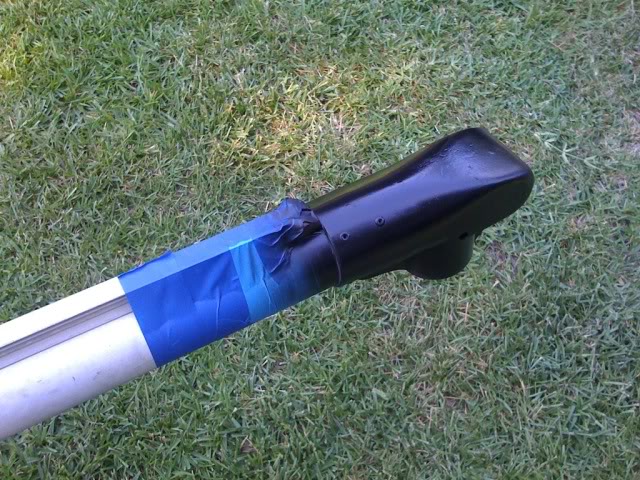
First to the castings…a good cleaning with acetone, then a couple of cans of spray paint…
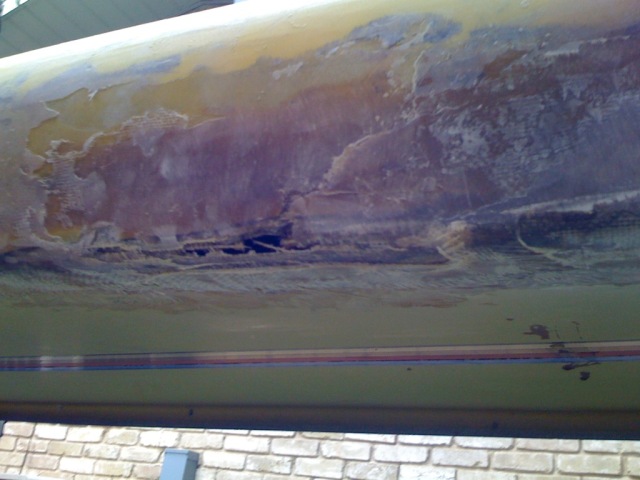
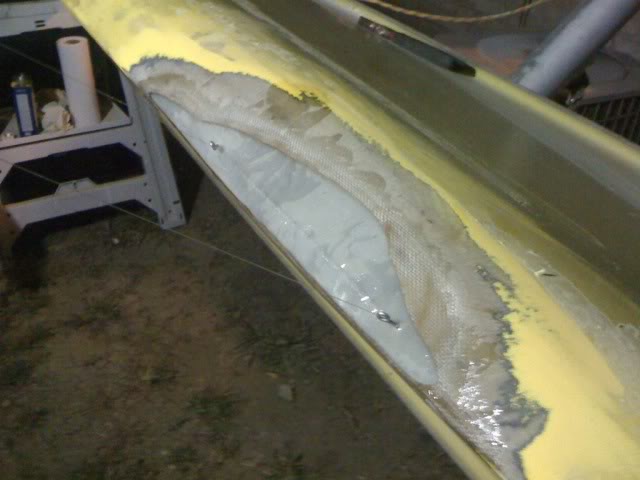
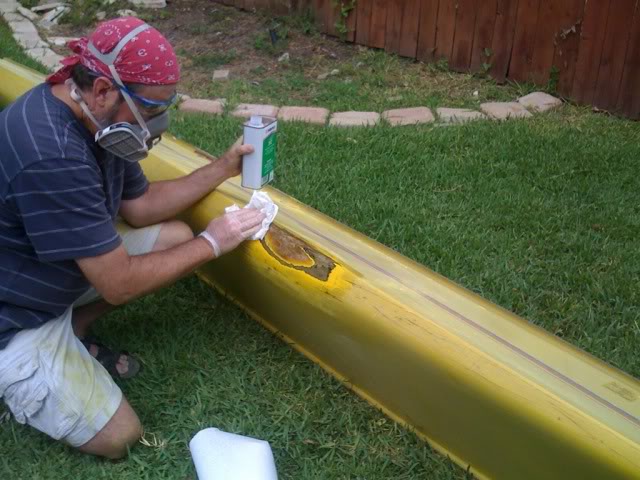
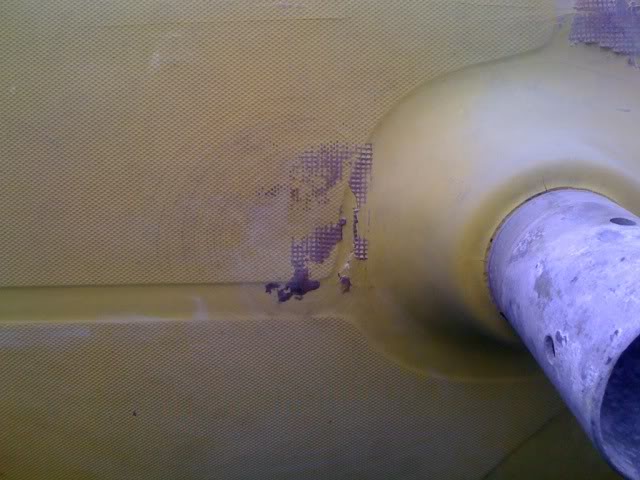
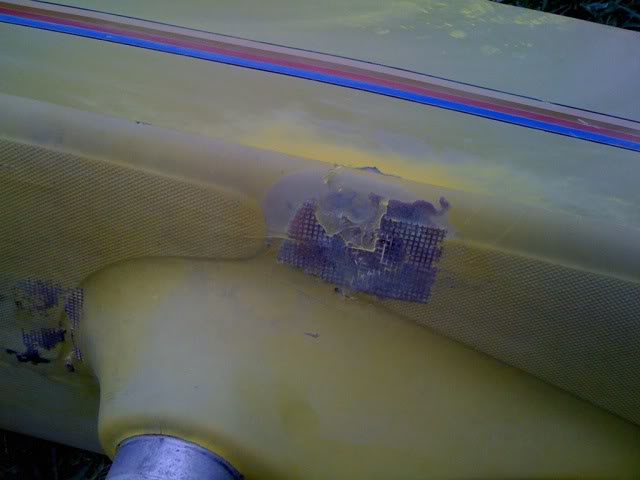
Then to the seriously crappy patch jobs on the hull – which you can see in this photo…
The starboard hull was in pretty good shape, but the port hull (beneath patch in photo) had been crushed by wearing thin on the beach, then having some fatty climb on the tramp while it was on the trailer, crushing a section and holing it in two places.

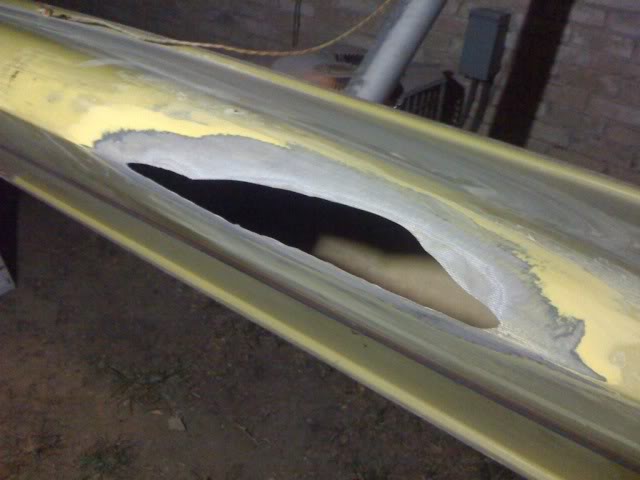
So, first we cleaned and sanded the area, then made a shaped backer by laying-up over wax paper on the hull area we were going to cut out….(learned all this from a buddy with some experience…and on YouTube)…

Then we sanded back at roughly 12:1…
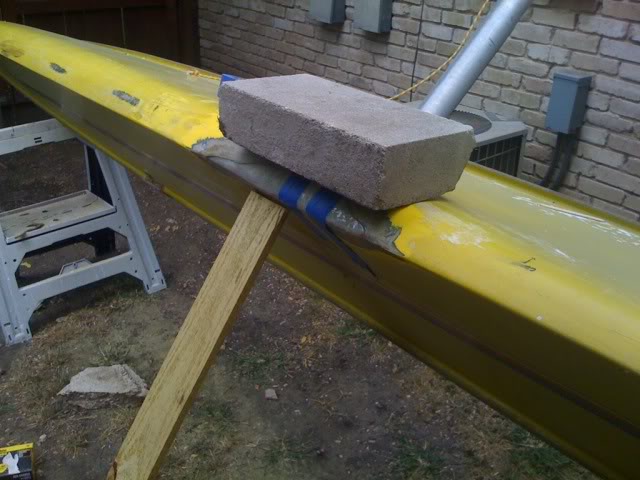
We cut and glued in the backer-plate, held in place by eye-screws and fishing line…
And finally started laying up the new glass…
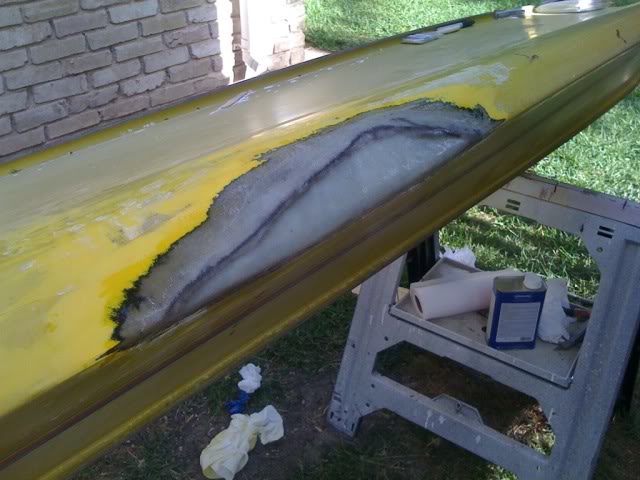
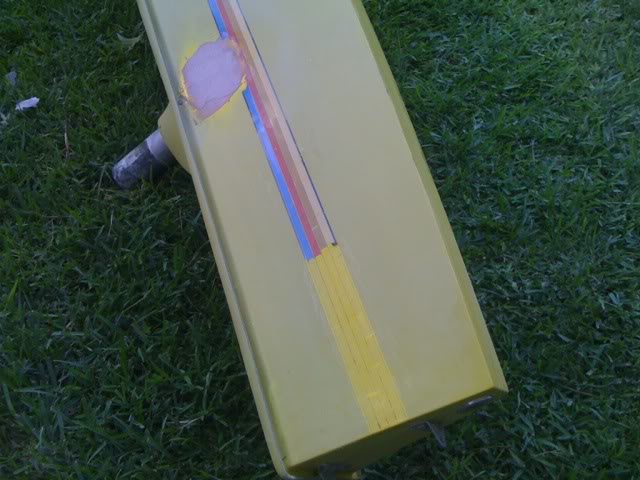
Then it was on to filling and faring the other hull…
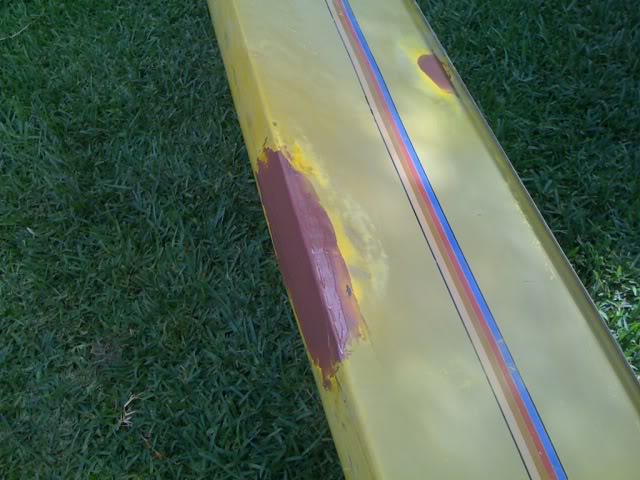
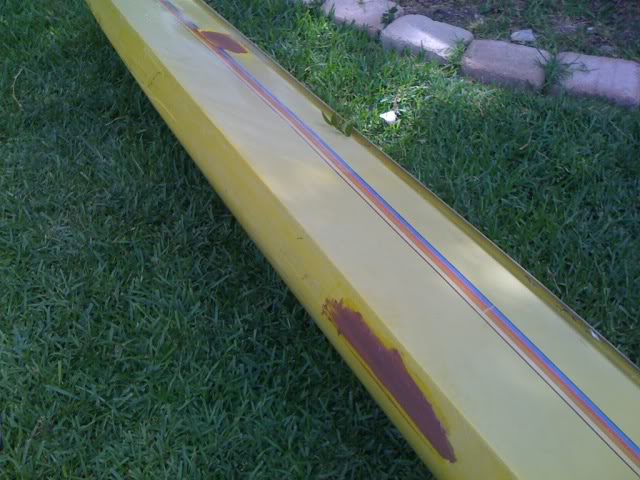
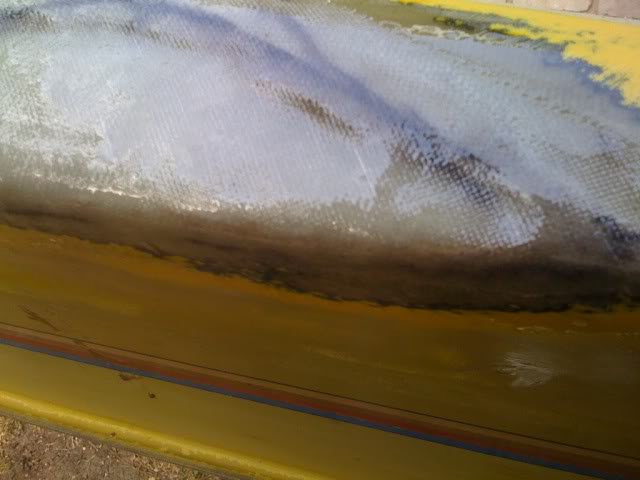
And finally…blading off the stripes…
Coming up…the top decks which have a couple of soft-spots, a little delamination, and a couple of pretty significant dings…
Then comes the sanding, priming and painting (and tons of other stuff)…
EXPENSES TO DATE:
Item
Initial Purchase Price……………..$200
Wheel for Trailer……………………$38
Lights for Trailer…………………….$30
Hitch for Trailer……………………..$34
Epoxy Resin………………………….$60
Spray Paint…………………………..$27
Fiberglass Cloth……………………..$14
Pinking Shears………………………$22 (my buddy and I determined…not critical)
TOTAL………………………………..$425