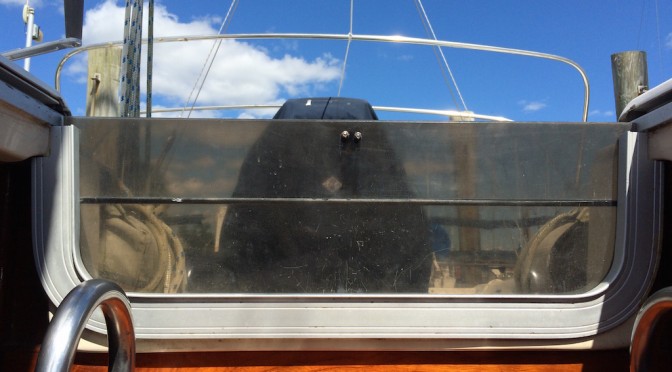
We got a TON of projects ticked off the list in this installment. Check this out…
But that was just part of the progress…we left off in Part 3 with a new LinkPro battery monitor that needed to be hooked up as well as a radar that desperately needed attention – along with several other smaller things.
The Radar
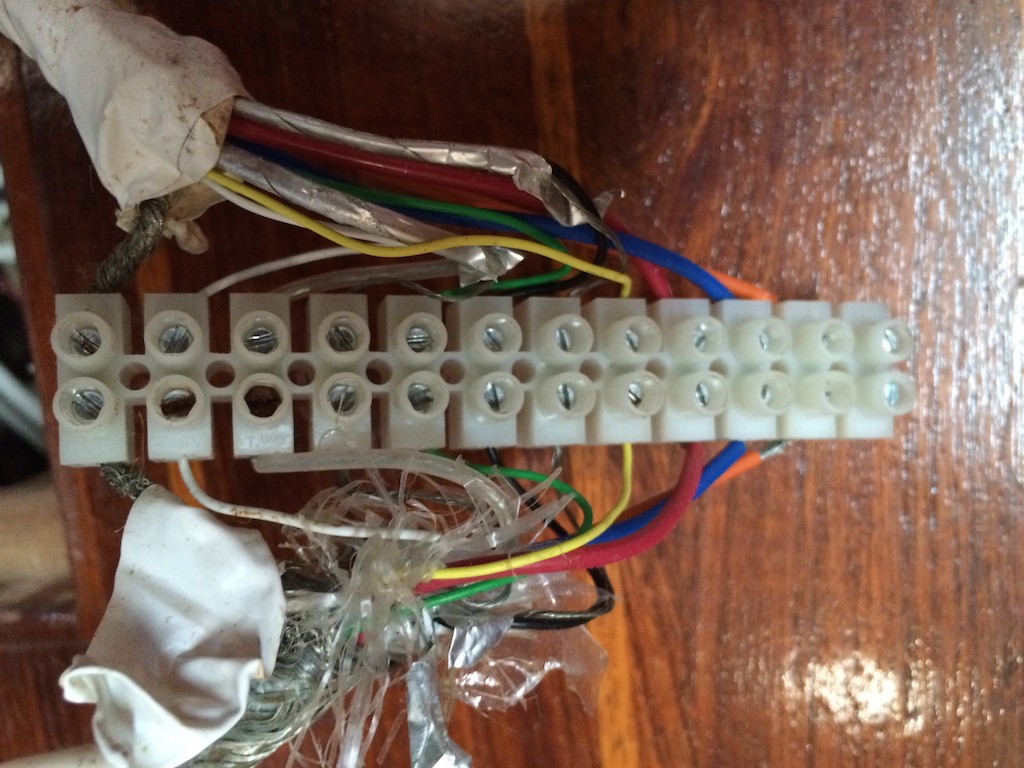
After inspecting everything I possibly could both with the cabling, it became clear that my radar was seriously jacked.
The very sloppy connection left behind by South Texas Yacht Services in my bilge after they completed the rigging work was certainly not going to improve.
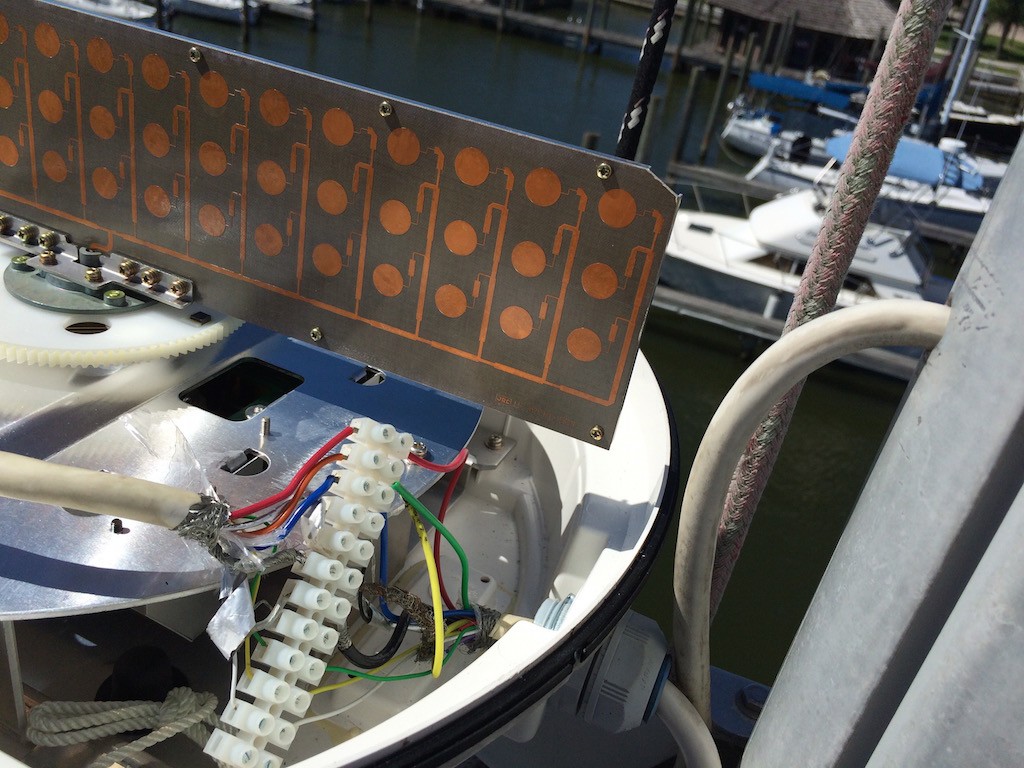
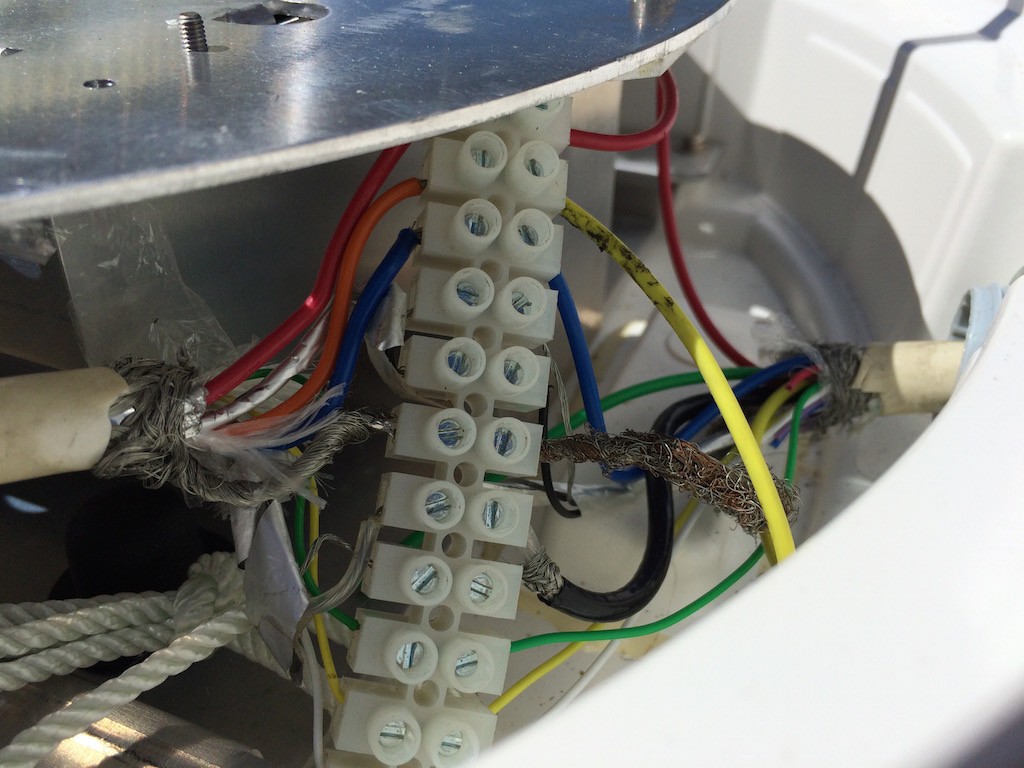
But after climbing the mast, I discovered that it was just as bad – actually worse – at the radome…
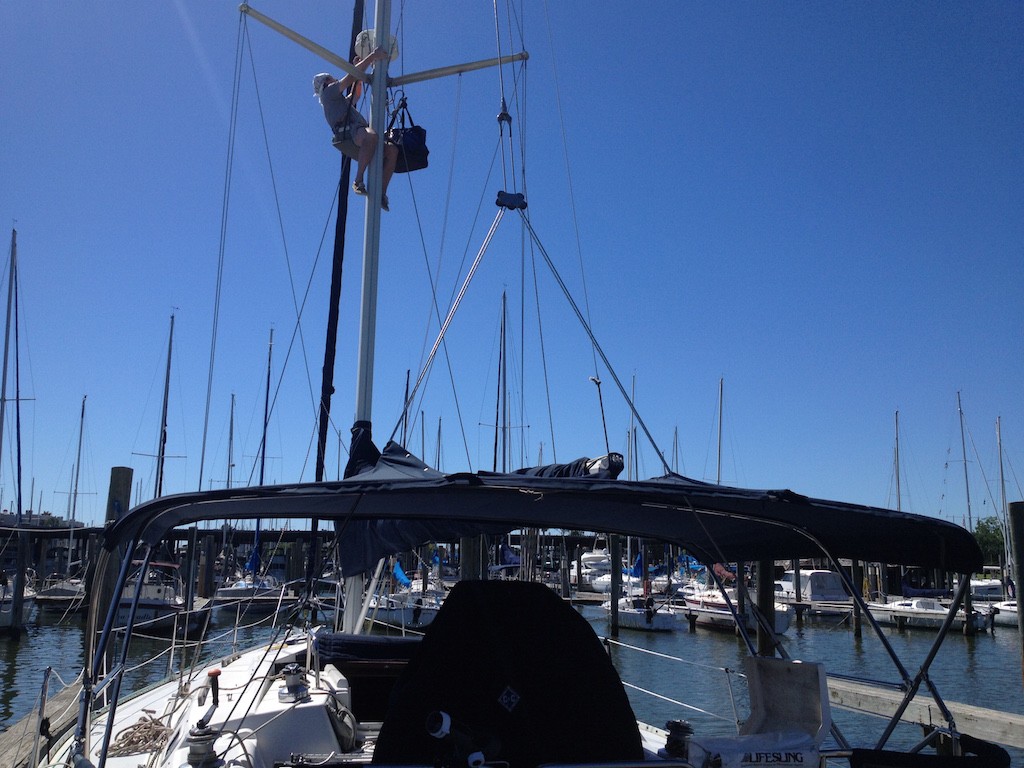
If you look closely, you’ll notice that the cable coming out of the mast doesn’t match what is down below in the bilge. Furthermore, neither of them match the cable leaving this connector and going into the radome.
What a freakin’ nightmare. I REALLY should have done all this while the mast was down. Live and learn.
So, I contacted JRC and was pleased to find out they still made cables for this unit. I ordered one and called on a new service company – Yacht Equipment Services in Kemah. I needed this new cable pulled and installed as well as some work on our AC and fridge – and some faulty wiring in the aft cabin.
A very painful $2,800 later (the radar cable alone took two guys most of a full day to get it done) …everything worked. So that was a big one off the list.
The LinkPro
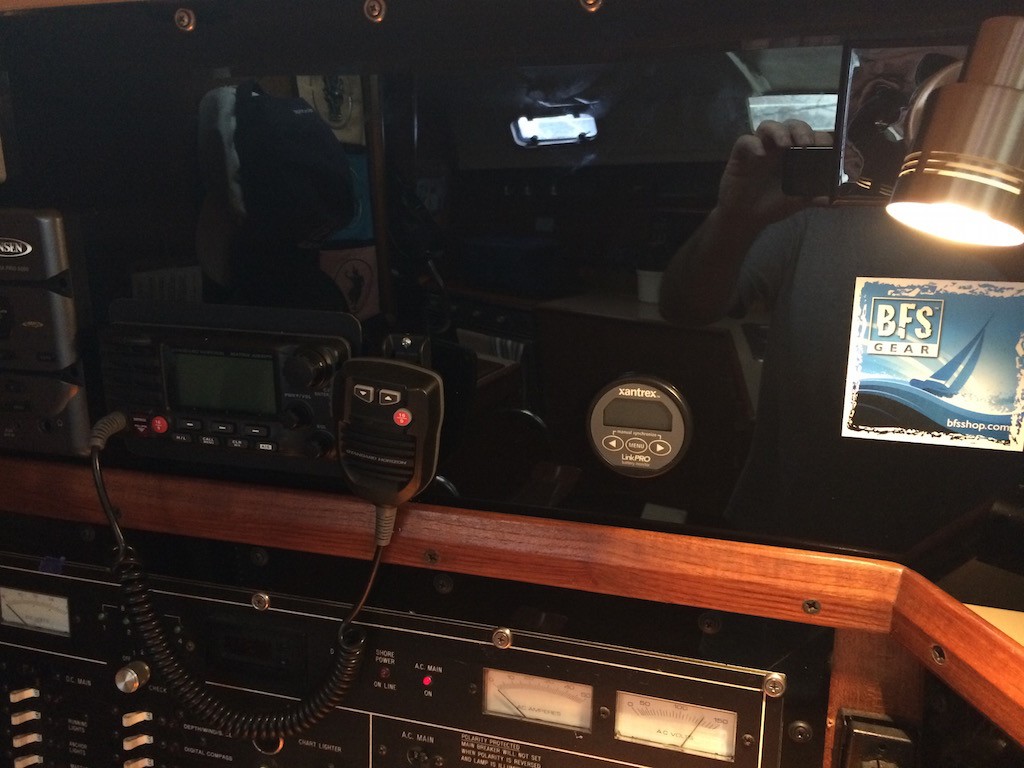
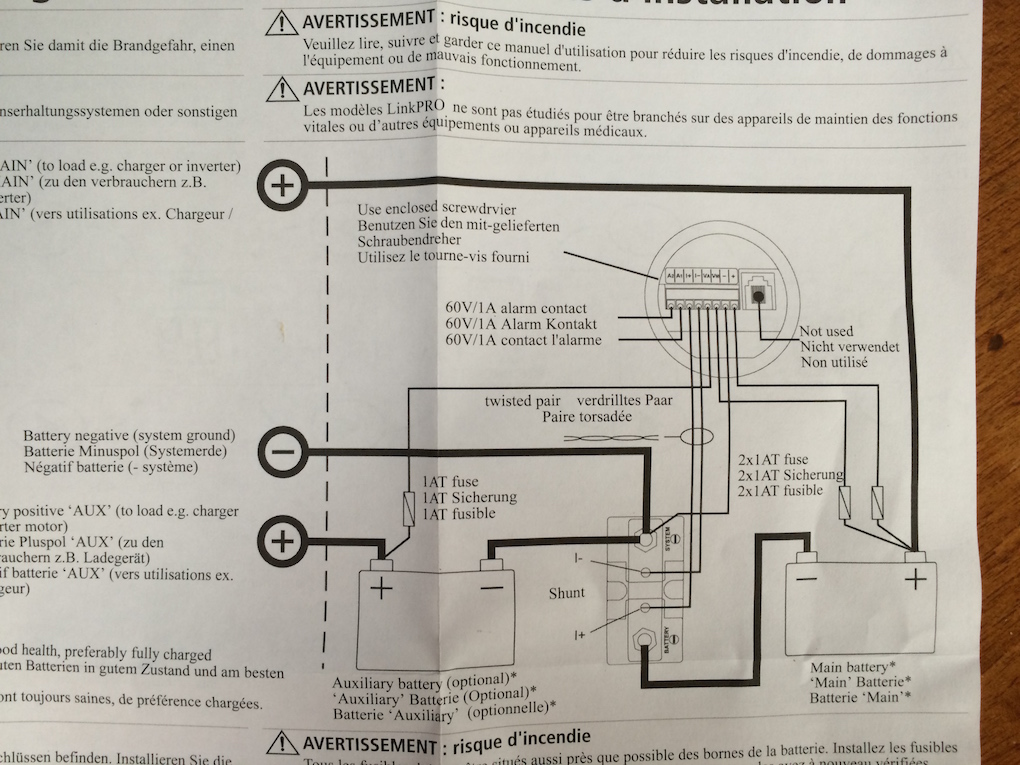
With Dawn Treader’s new Solar System and expanded house bank, it was time to get that Link Pro going. I had run the wiring back into the battery compartment under the bed in the luxurious aft cabin, and had wired the monitor itself and mounted it at the nav station, but I still needed to complete the wiring into the bank(s):
Now, I want to make it clear that this electrical stuff is mystifying to me. Honestly. 12V wiring itself is simple. But when you start throwing in switches and shunts and fuses and ACRs and chargers and controllers and monitors – it starts to get seriously insane.
Yes, there is a lot of help on the forums – but most of those guys talk like you actually know what the hell they are saying. And they get frustrated at guys like me who are otherwise brilliant – but who have a very hard time keeping this crap straight.
So – I turned to the last resort and followed the instructions – as best I could.
And…
Seems to be working. I’ll clean the wiring up later.
“Proper Sea Berth”
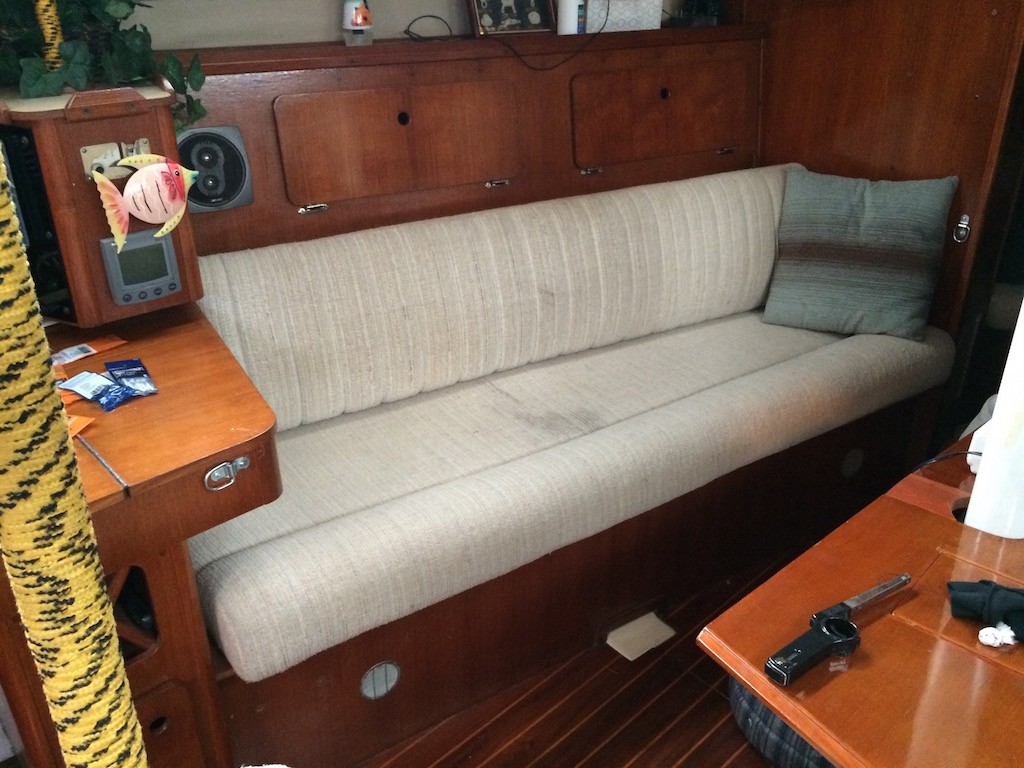
The next item on the various projects list was a lee cloth. Now this was one of those things that Blue Water Chuckleheads like to harp on about production boats – that is “there are no ‘proper seaberths'” on them like you’ll find in a “real blue water boat”. Of course, this is pretty stupid. And I illustrated this by comparing my Hunter to a vaunted Shannon. The interior layout of the salons, which is where you mostly sleep off-shore, was virtually identical. Except, my Hunter had the luxurious advantage of having a spacious aft cabin with centerline queen for comfy nights at anchor, while the Shannon had coffinesque berths. No thanks.
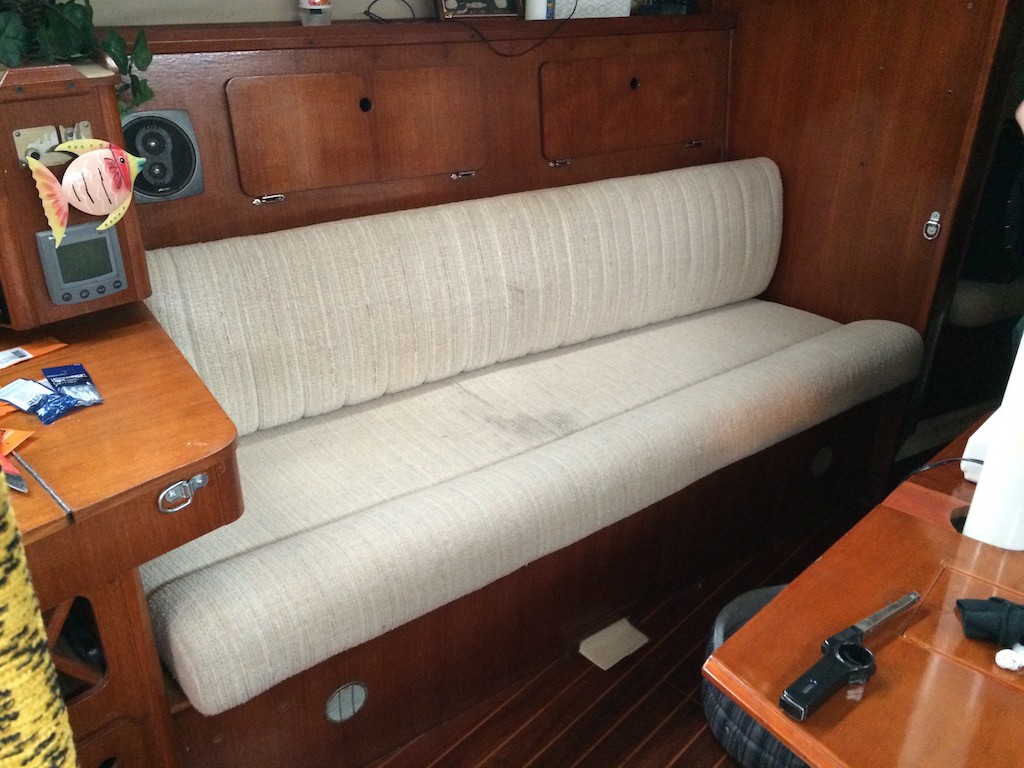
With the wrap-around dinette seating and the settee to port, and the v-berth in a pinch, there was plenty of berthing for us off-shore. The only thing that was missing was a lee cloth on the port settee. So, I bought some canvass, pulled out the sewing machine and some rope and went to town.
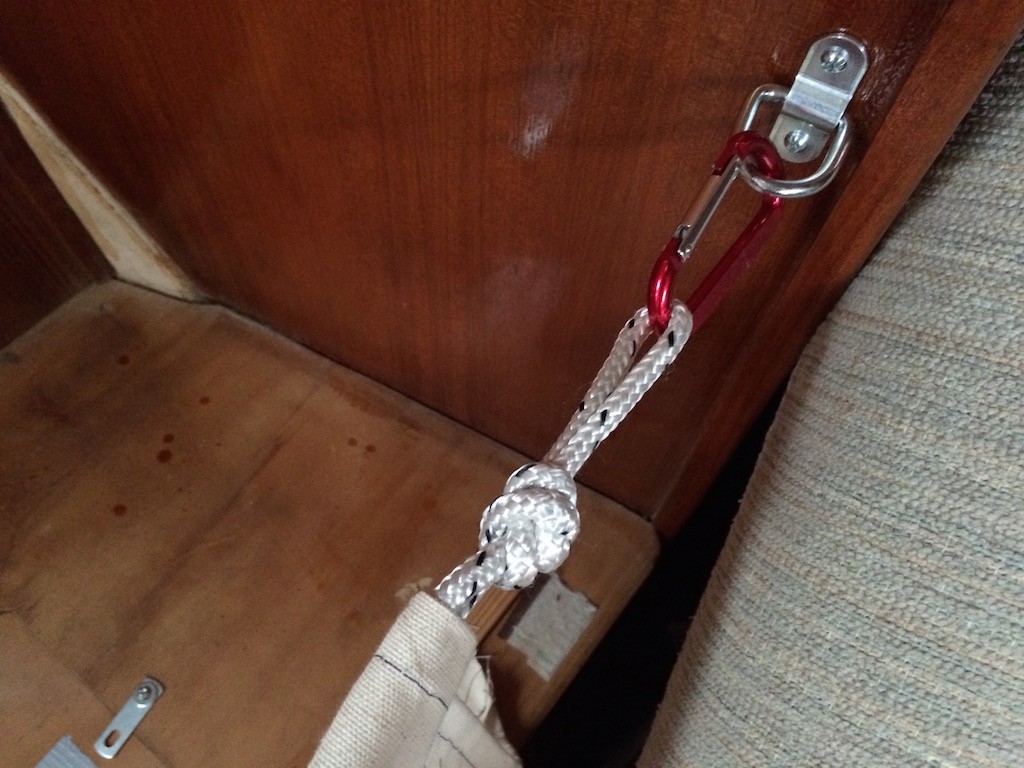
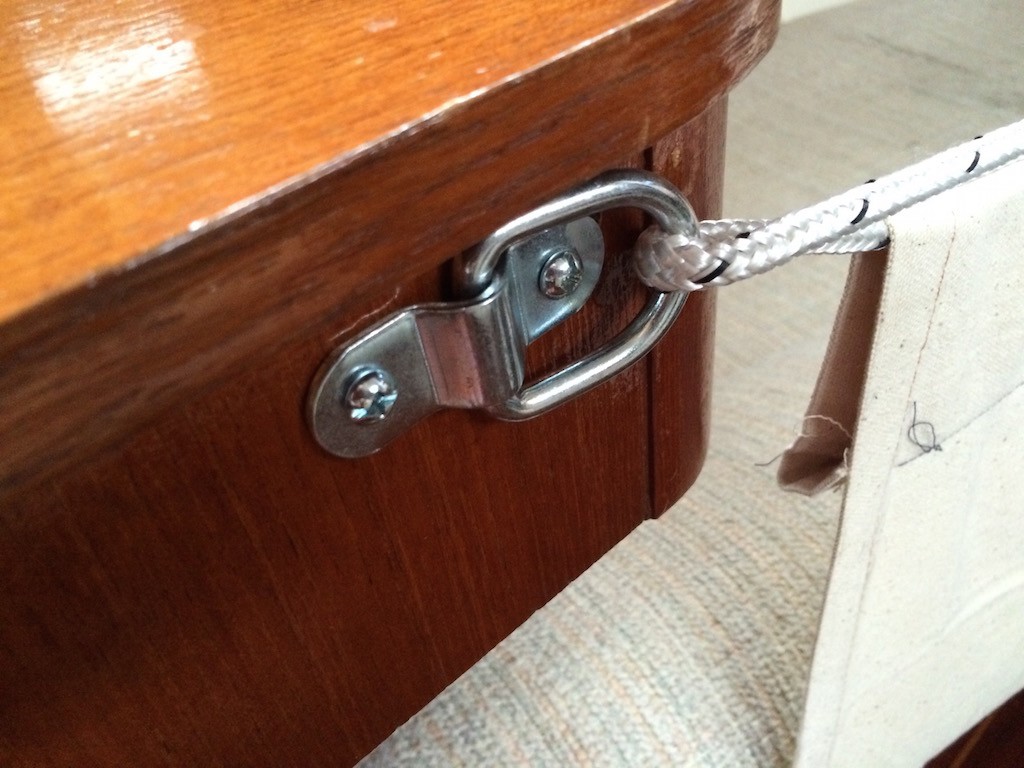
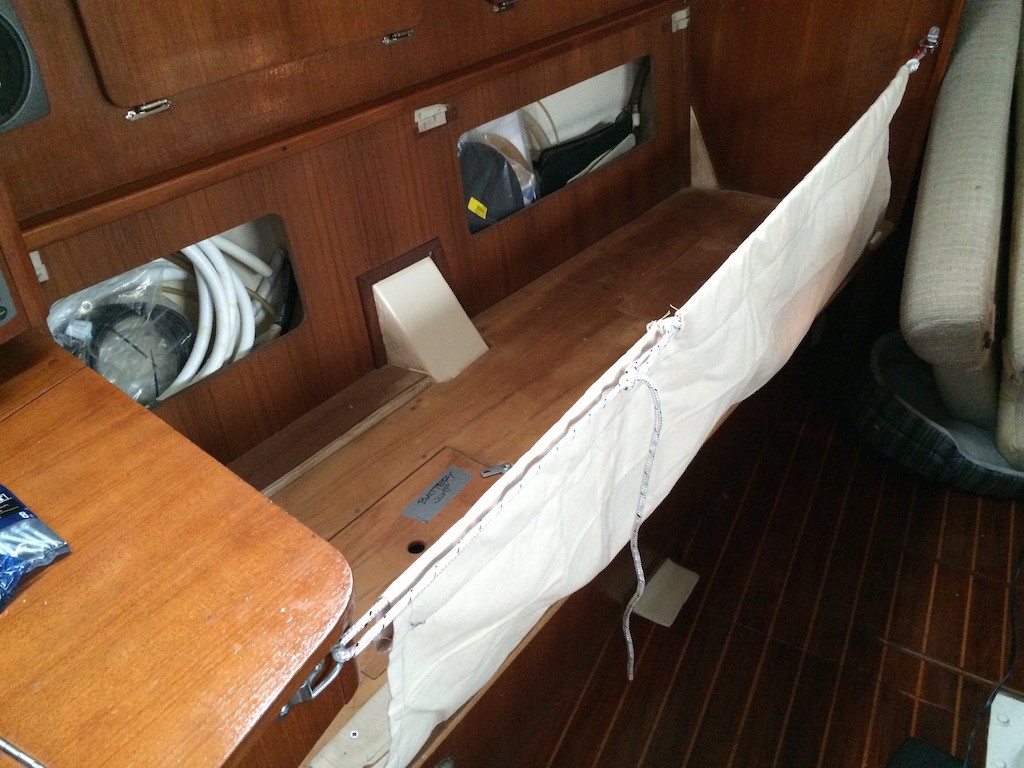
First came the tie-downs. Since we don’t have overhead handrails like on some of the older boats, I through-bolted one into the bulkhead, and the other into the very sturdy nav table as seen here:
This made for solid anchor points at the right height – but were unobtrusive visually. Nice.
Oops. Looks like I spilled some scotch there. Heh-heh.
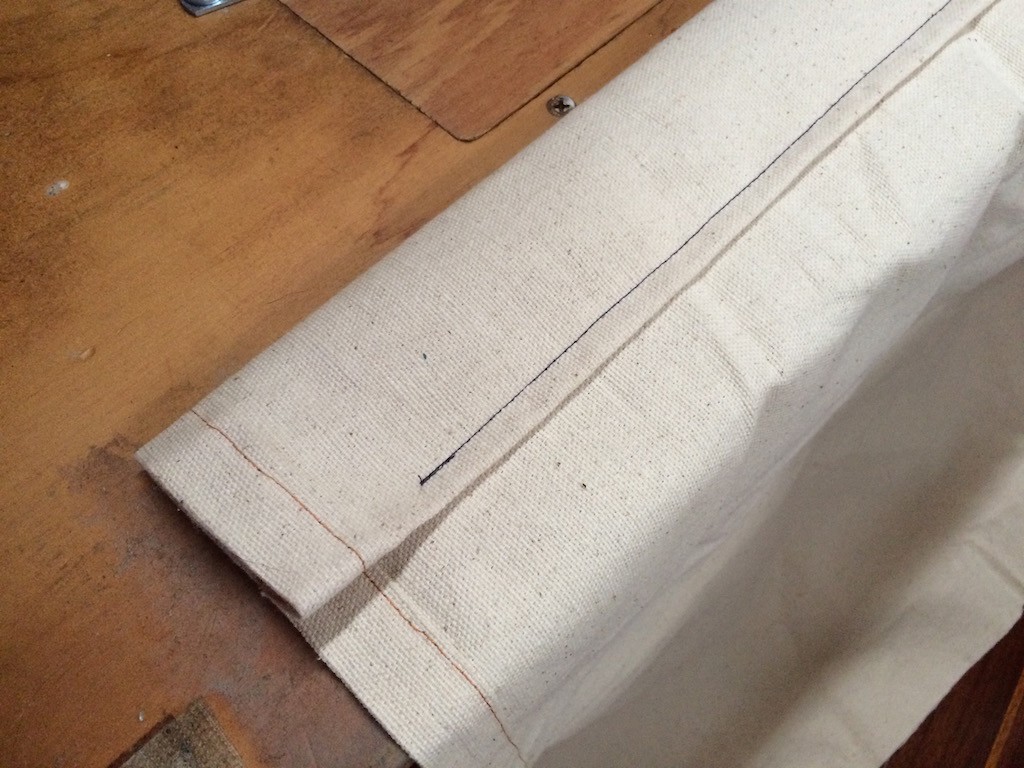
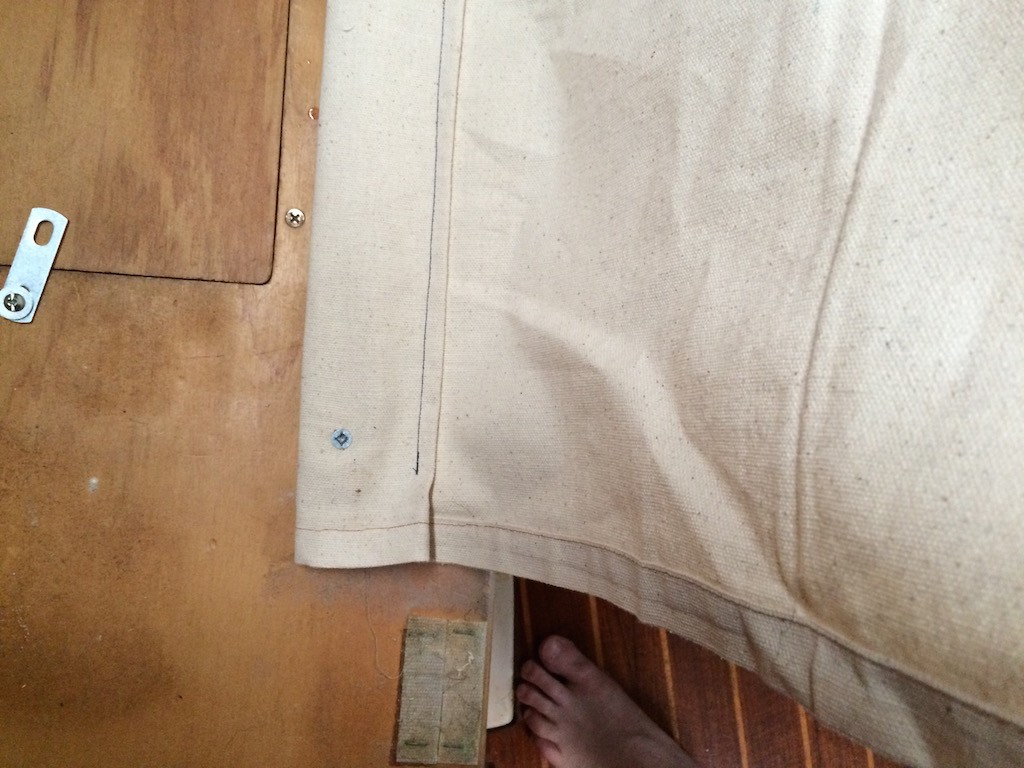
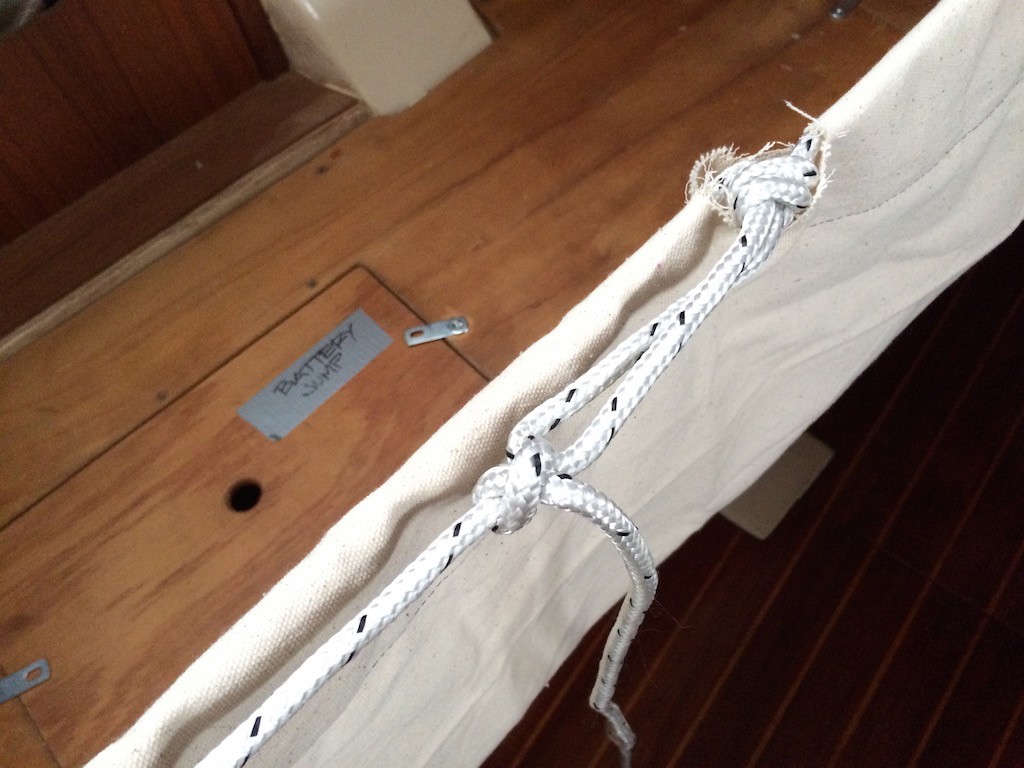
I then cut the canvas to the correct length and sewed pockets along the length of both sides. The lower end has a 1 x 1/4 doorstop run through it along the whole length for screwing down into the settee frame…
And the upper pocket is for the rope that runs the length of the cloth and is secured into the tie-downs…
I ran the rope through that pocket and set it up with a carabiner on one end and a simple “truckers hitch” on the other to make it easy to deploy and adjust…
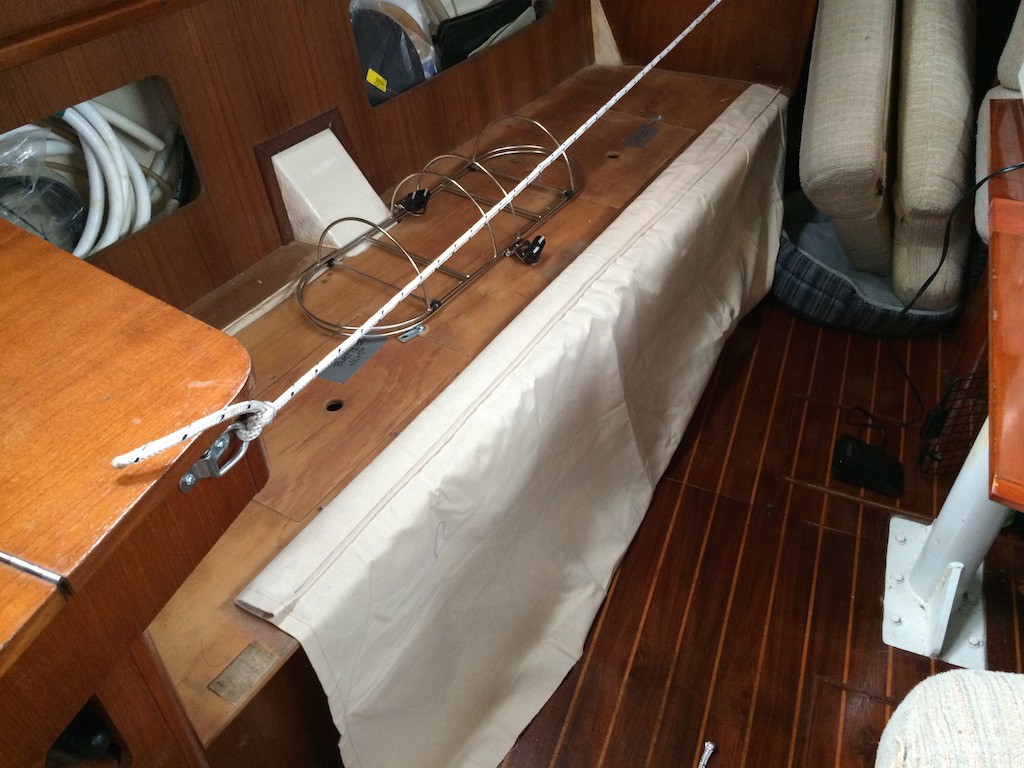
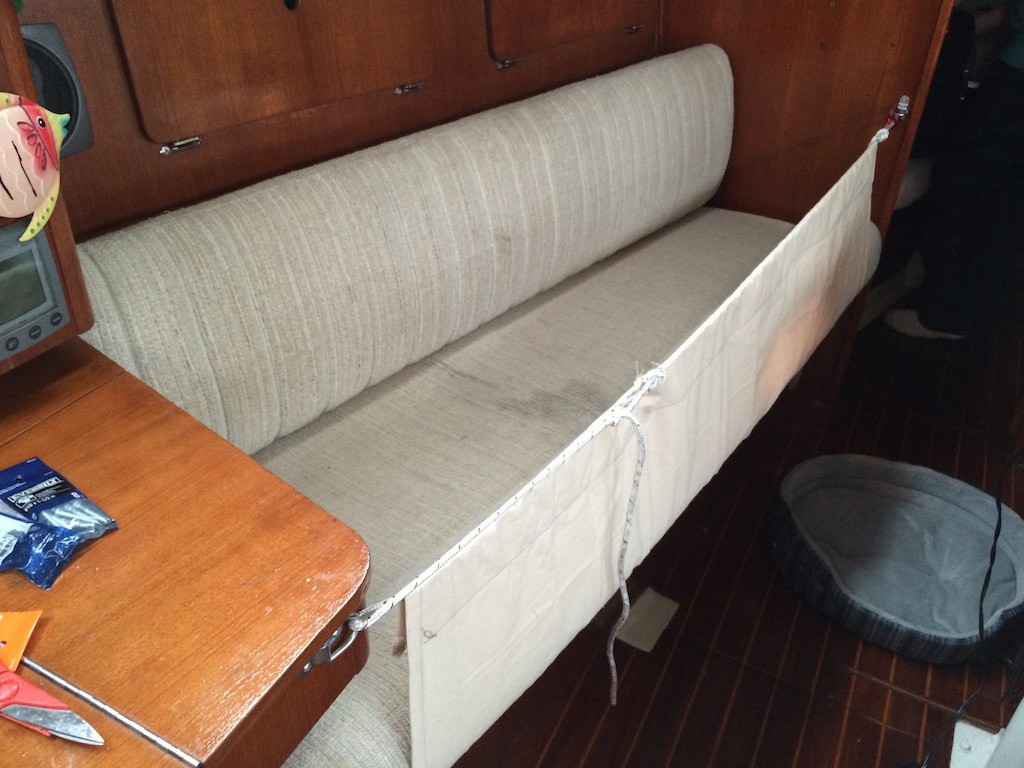
With the cushions in, it makes a very sturdy, adjustable, and pimpin’ lee cloth…
This baby will keep you in your bunk up to a 90 degree roll. And boy I hope to never have one of those.
You just untie the trucker’s hitch – or use the carabiner to lower and raise the cloth as you get in and out of the berth. Easy-peasy.
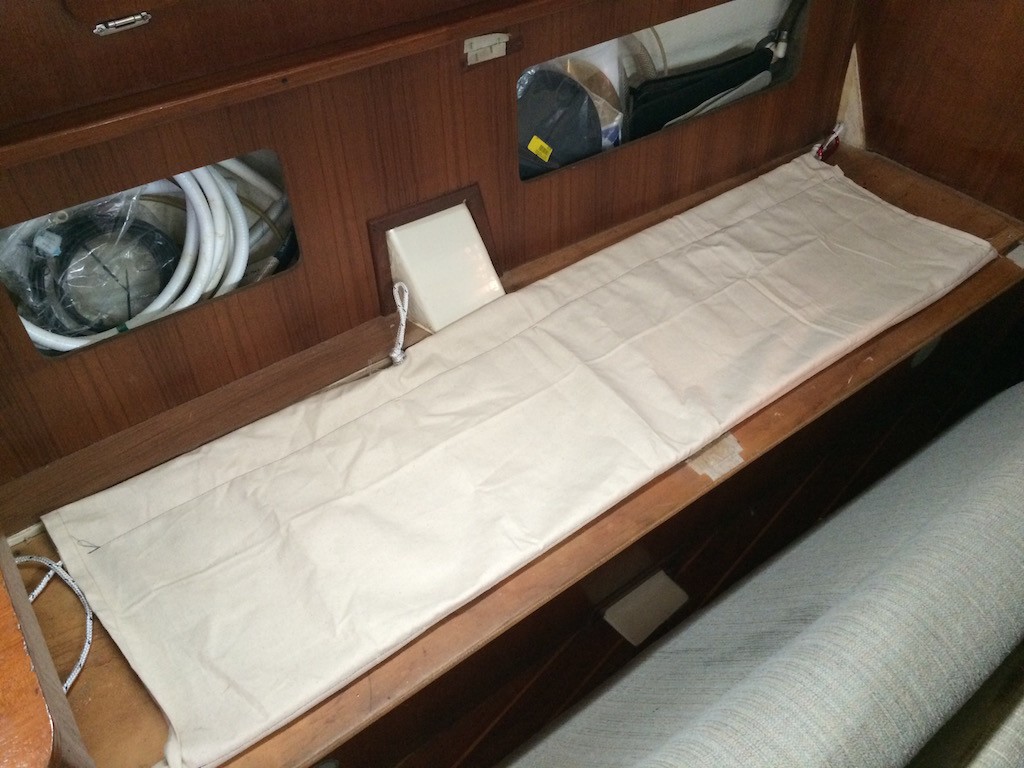
The whole thing then stows nicely beneath the cushion to keep the salon lookin’ sweet.
Anyway, who says a production boat doesn’t have proper sea berths? Pppfft.
Crappy Water Regulator
When I bought the boat, the existing water regulator was corroded and leaking into the lazarette. I needed one quickly when I remembered the problem one weekend when we got to the boat and turned on the water. So, I bit the bullet and headed over to West Marine to pay an outrageous markup on one of their Jabsco units. The thing was $54. Which is okay for something that will last for years. But, fast forward 6 short months and…
Now, the obvious question…could I have just returned it? Sure – had I had either the receipt (I’ve NEVER kept a receipt more than a day – sorry) – OR a West Marine membership – which I absolutely refuse to do. Like I need any more junk mail?
So, I’m pretty much done with West Marine unless it’s a dire emergency. It’s expensive. The gear is no different than what I can get overnighted from a website that offers it WAY cheaper. So – Shurflow – rock on.
Getting close!
With just under a month left to go before we head out, we’re nervous, excited, and anxious to get all these projects finished. We’re getting really close. Stay tuned for the craziness!

