
Beach Cats in Rehab – Part 5 of 5
Okay – time for the final installment on the rehab of this old slag.
The last significant job I had on the pre-splash list were the rudders. If you recall, the originals were complete crap…
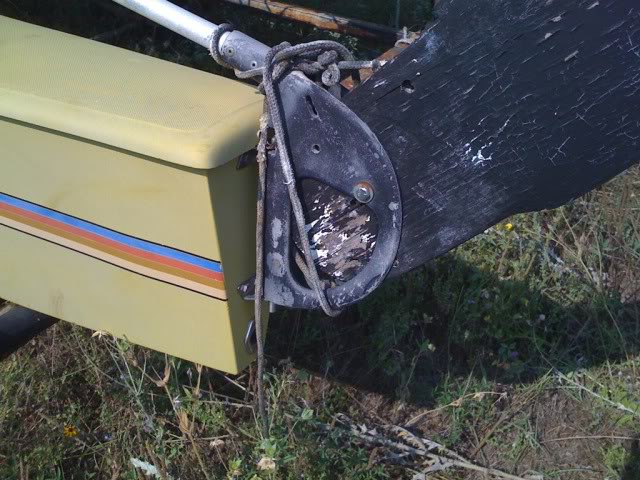
The raise/lock/lower rigging was all gone, the rudders themselves were painted wood, and one of them had serious rot around the pivot bolt. I’m no CharlieCobra – so rebuilding those was out.
They were a Prindle type rudder and casting – so I started looking around online for used rudders and parts. There were a couple of choices of rudders only for $80+ each, and a couple of rudder/casting assemblies for quite a bit more. But nothing “rehab cheap”.
So, I looked for Hobie options, thinking I could just use a different set up. Same thing. $200+ any way you go.
Finally, I started watching Craigslist. And some dude in Pensacola put up a steal. Full Solcat rudder assembly, rudders – AND 2 extra Hobie rudders…all for $50. The shipping was another $56…but $106 was a GREAT deal…especially since I can sell the two Hobie rudders, making a few bucks back on the transaction.
All the pieces were there, but they were in pretty rough shape. The dude had Bondo’d one of them…very poorly. So I sanded them down, faired them, then painted them and the castings, then figured out how to mount them on the Prindle style gudgeons…
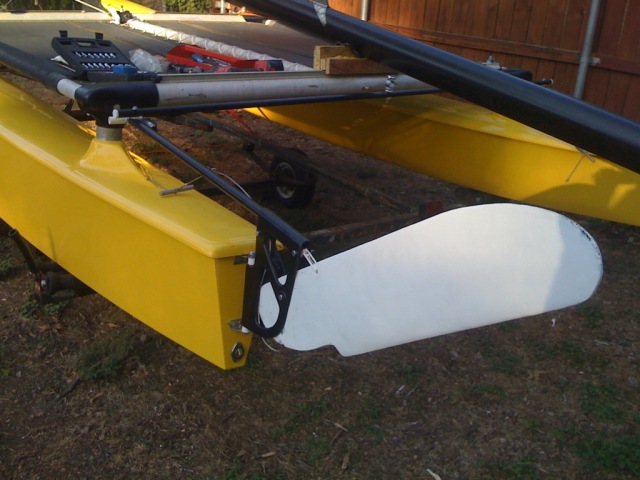
You’ll notice the creative use of PVC pipe as spacers…
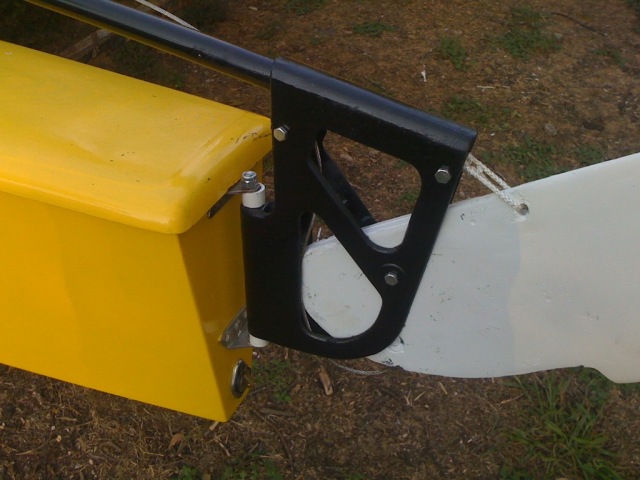
The lockdown cables were in good shape, but I had to rig the raising lines. For this I used cheap 1/4″ braided line. The trick was rigging it so I could lock the rudders in the upright position. So, back to the PVC.
I drilled a hole for the handle and knotted the line with about a 6″ tail. This way I can roll the extra line around the handle when the rudder is up, then tie off the tail with a couple of half-hitches. Works perfectly.
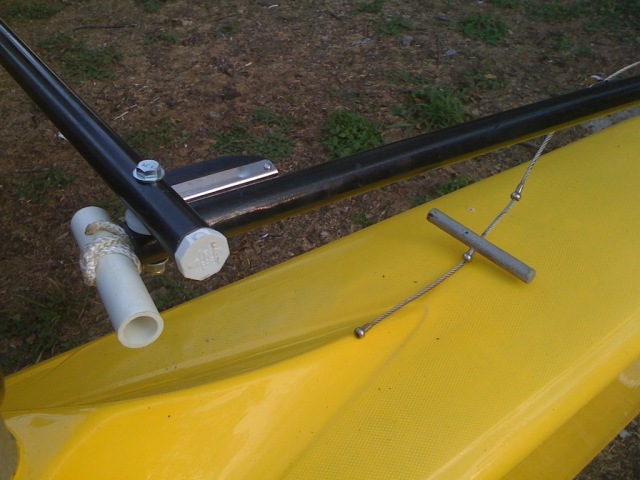
Next came the cross-bar. This is painted metal conduit, with PVC cap fittings hammered in to finish the edge.
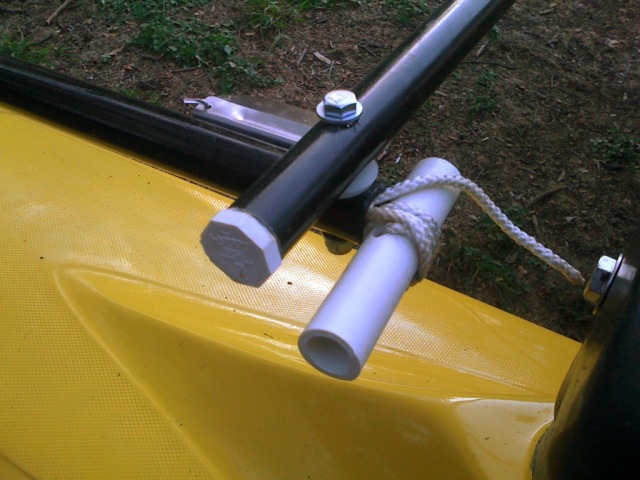
I used nylon washers between the tillers and crossbar to handle the back-and-forth, then added the tiller-extension connection in the center using a cheap conduit mount with nylon washers again.
The tiller extension is also conduit to which I’ll add a handle of some sort.
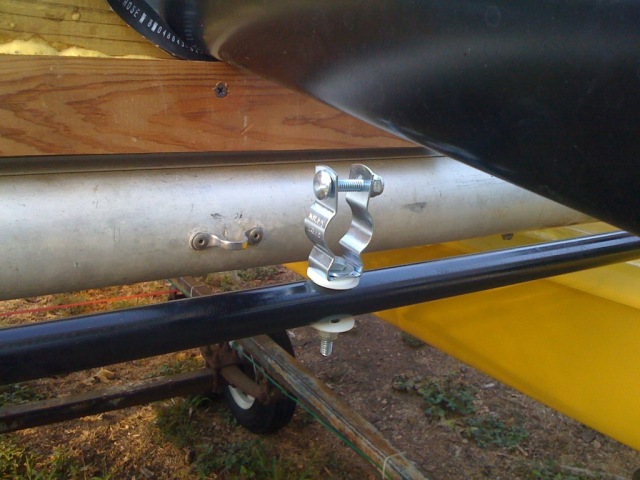
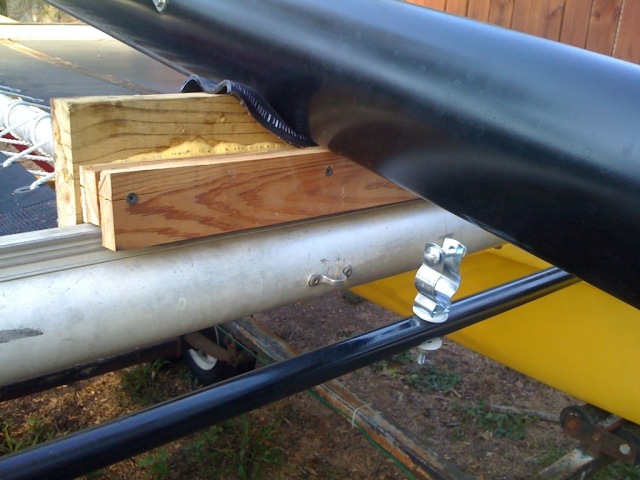
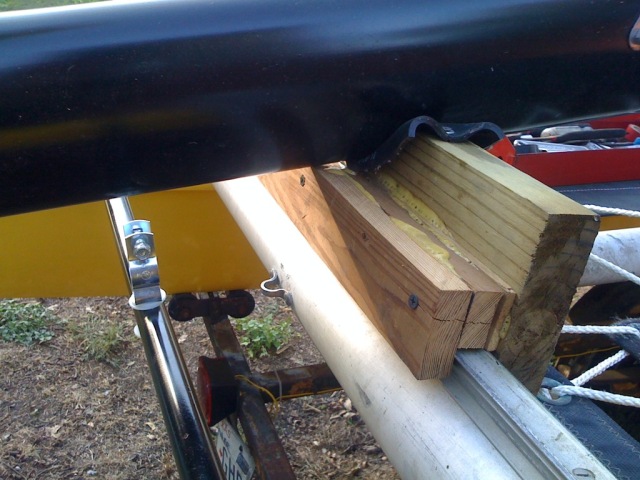
Finally came the mast rest. It ain’t pretty, but it works great…
If the weather holds, it’s time to sail this slag this weekend! I’ll let you know how the maiden voyage goes!
As for time and cost, here you go:
| ITEM | QTY | UNIT PRICE | SUB-TOTAL |
| BOAT | |||
| Initial Purchase Price | 1 | 200 | 200 |
| Epoxy Resin/Hardner | 1 | 60 | 60 |
| Spray Paint | 23 | 4 | 92 |
| Fiberglass Cloth | 2 | 7 | 14 |
| Pinking Shears | 1 | 22 | 22 |
| West 407 Filler | 1 | 11 | 11 |
| Bolts/Toggles | 2 | 2 | 4 |
| Tramp Repair | 1 | 60 | 60 |
| Used Rudders (+shpg) | 1 | 106 | 106 |
| Paint (Brightside Qt + Shpg) | 5 | 36 | 180 |
| 5/16″ Line | 4 | 5 | 20 |
| 1/4″ Line | 1 | 5 | 5 |
| Rollers | 4 | 9 | 36 |
| Brushes | 32 | 1 | 32 |
| Acetone | 2 | 8 | 16 |
| Sander discs | 1 | 8 | 8 |
| Conduit | 2 | 2 | 4 |
| Sand paper | 1 | 4 | 4 |
| Jib Blocks | 2 | 13 | 26 |
| TRAILER | |||
| U-Bolts | 2 | 1 | 2 |
| Hose | 1 | 6 | 6 |
| Wheel for Trailer | 1 | 38 | 38 |
| Lights for Trailer | 1 | 30 | 30 |
| Hitch for Trailer | 1 | 34 | 34 |
| Lug nut | 0 | 0 | 0 |
| Stand | 1 | 34 | 34 |
| TOTAL MONEY | 1044 | ||
| HOURS | |||
| Disassemble/Clean | 6 | ||
| Hull Repair/Prep | 35 | ||
| Hull Paint | 37 | ||
| Mast Paint | 6 | ||
| Rudders | 12 | ||
| Assemble | 5 | ||
| TOTAL TIME | 101 |