Beach Cats in Rehab – Part 4 of 4
I know everyone has been waiting breathlessly for the next installment of “De-Skanking Lilo”. So here we go…
My plan was to gelcoat the hulls using this stuff:
I’d seen this video showing application with a roller:
They said 3 coats would provide good coverage – and I LOVED the idea of it lasting for years with the ability to buff out scratches, dullness, etc.
The issue was the cost…$110 (with shipping) for 1 gallon. And though the specs said that gallon would cover both my hulls – it was possible that I’d have to get a second gallon since I think that’s the only quantity they sell. $220 started sounding a bit scary. I also found a couple of horror stories online about guys that used the stuff with bad results – although it sounded like they had done a poor job of prep.
I had also been looking at, and talking to lots of people about, Brightside paint. I’d seen plenty of videos of people applying it with roll and tip – and getting crazy great results. But I’d also seen lots of people talking about how easily it scratches. The big plus was the cost/coverage versus the gelcoat above. I found a source online that sold it for $28/quart. The specs indicated that I could get away with 2, maybe 3 quarts.
Since my prime objective on this cat restore was to do everything as cheaply as possible, I decided to bite the bullet on doing extra maintenance (which I REALLY didn’t want to do) and go for the less expensive paint option.
So, I took a print-out of the online price for yellow Brightside to West Marine – who price-matched it for $28/qt. (down from $45). Booyah!
First, I had one more soft-spot to repair. Did the old epoxy injection as shown.
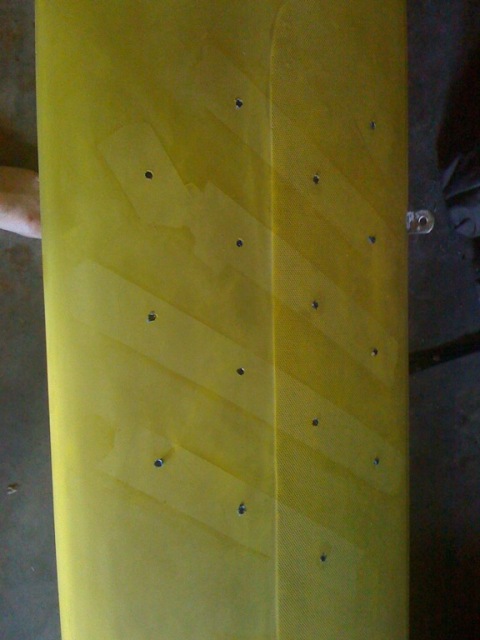
It worked perfectly. Then it was a final sanding and cleaning to prep for the paint…

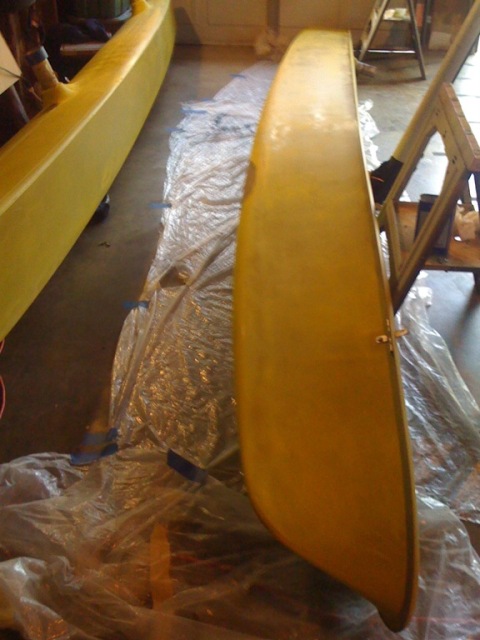
With the first hull up on the saw-horses, it was time to give it a shot. I used a Whizz roller and a foam “brush”, rolling vertically, then brushing horizontally from the edge of the new paint backward. Paint straight out of the can.
I did it exactly like this guy is doing it:
Unlike his dark blue paint, however, I could immediately see that the yellow was not going to cover as quickly as I’d hoped…and I was nervous that the stripes would show through.
After the first coat, I lightly sanded with 320 paper, carefully cleaned the debris off, then laid on a second coat. Then I repeated all that for a third coat. Laying on the Brightstide was STUPID SIMPLE. Seriously, the stuff lays down like you wouldn’t believe. It’s pretty hard to screw up.
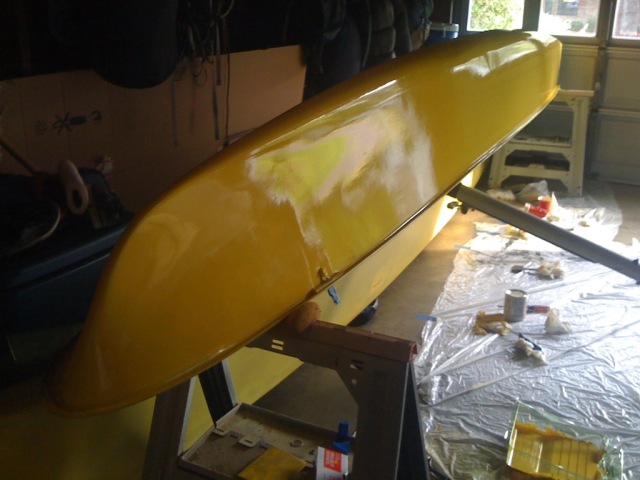
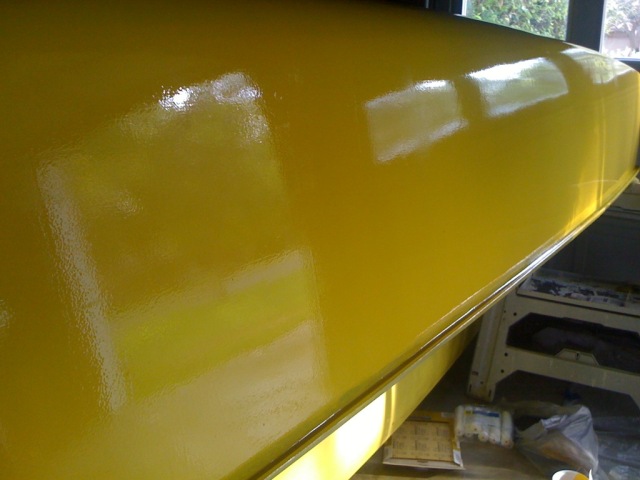
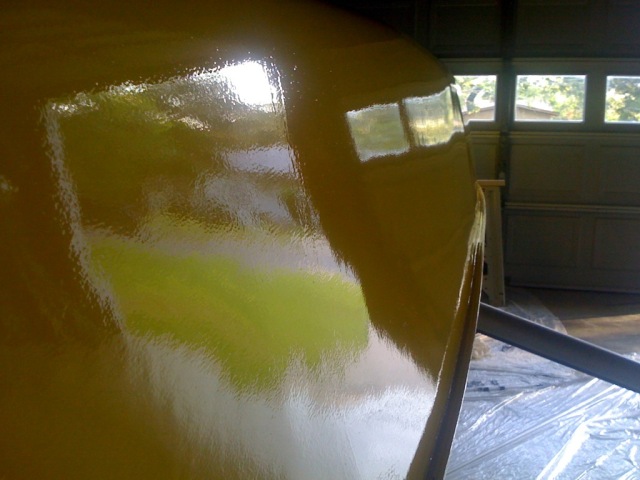
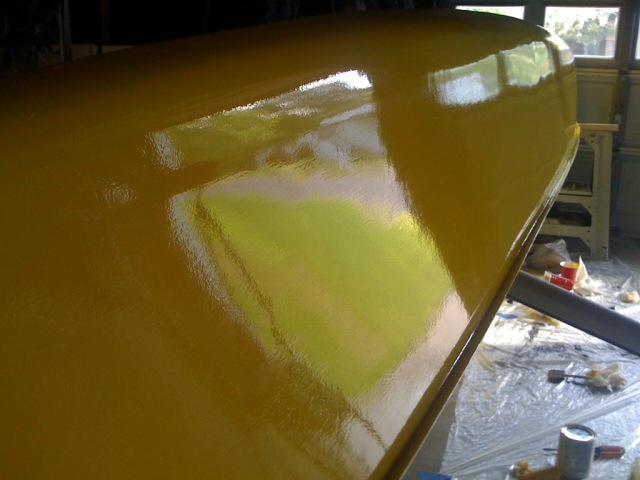
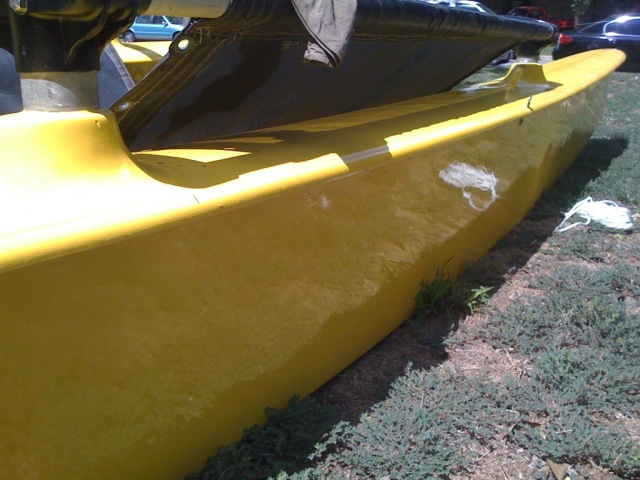
Granted, it’s not “perfect” – but I was pretty amazed at the smooth finish. And it looks wicked awesome from 10′ away (which was my goal).
The problem with Brightside comes with the non-flat bits. I flipped the hull and started working on the top-deck. The roll and tip went great until I hit the pylon. Trying to roll that thing, then smooth it with the foam brush was a nightmare.
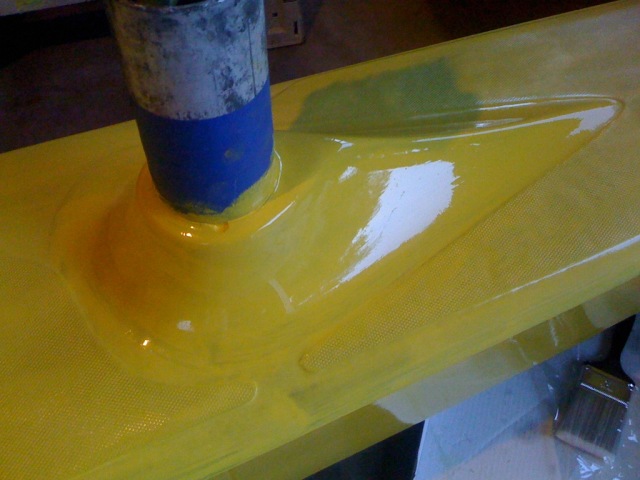
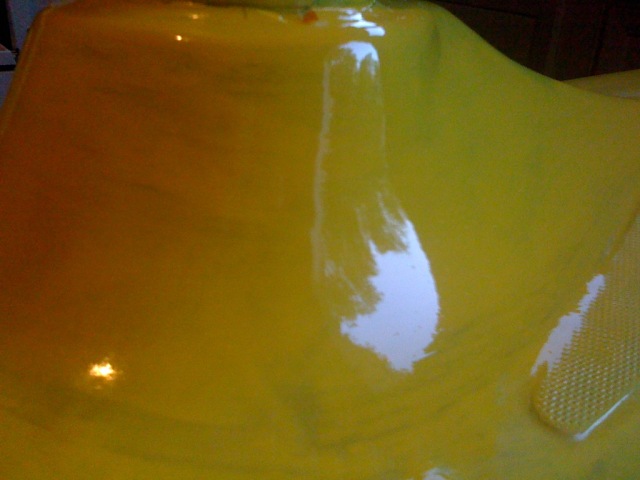
With Brightside you really have to move pretty quickly. If you wait too long, you don’t get the smooth flow from the new stuff into the stuff you laid down previously. It seemed I had about 3 minutes or so from the old section to the new (I painted in sections of about 18″ from one end to the other). If I missed that window, the joint between the two sections wouldn’t flow well, leaving some roughness. And you know when you’re out of time when the foam brush starts squeaking. At that point, it’s too late. So you have to just go from one end to the other in a single pop. You can’t waste any time.
The pylons really slowed me down. So I came up with another plan…which also had it cons. I decided to pre-paint the other pylons…
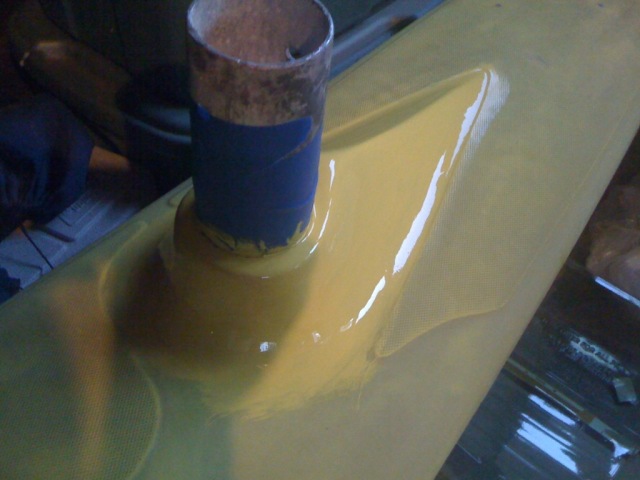
The con with this is that joints between already dried paint, and new paint never smoothes out perfectly. But with the non-skid I was able to hide the problem pretty well…
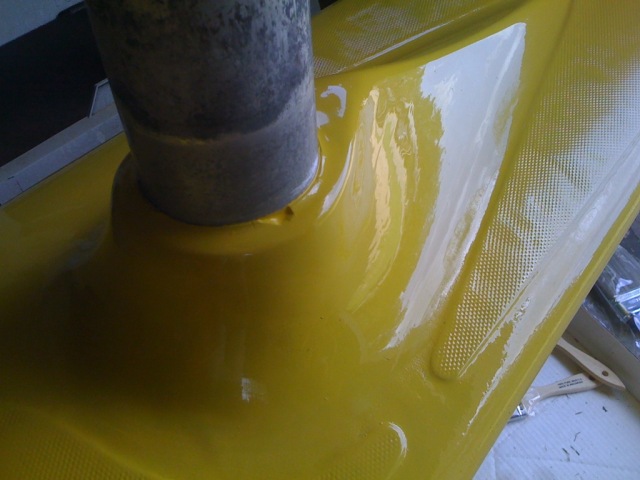
The paint was so amazing that the original production flaws started showing up:
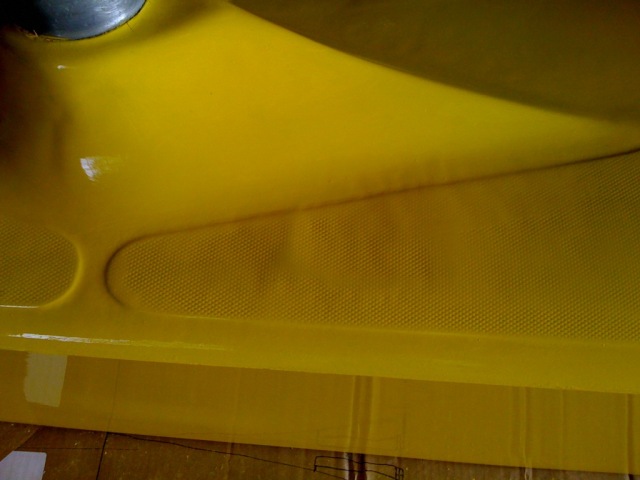
But I was pretty pleased with how it was turning out.
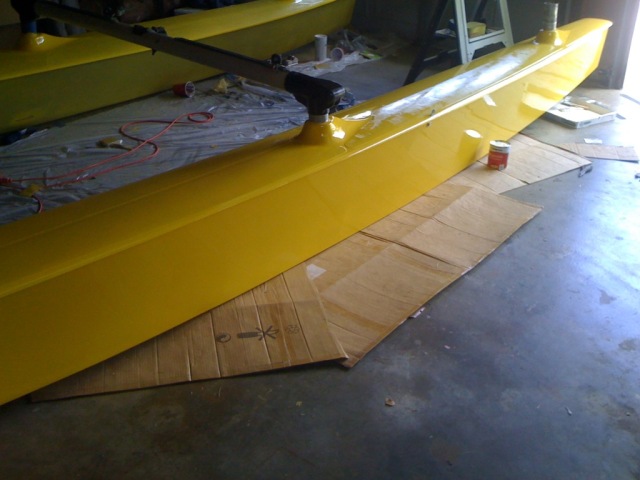
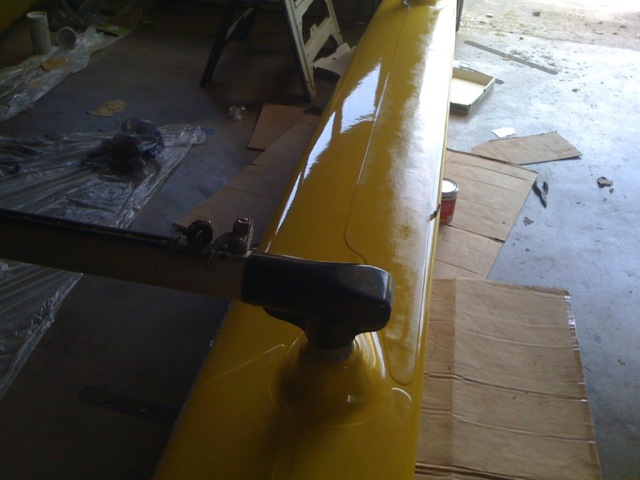
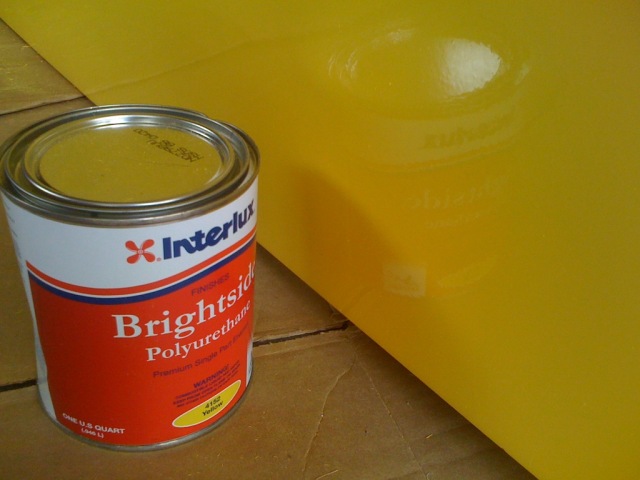
The problem was…I was using a hell of a lot of paint! 3 coats, and you could still just make out some darker areas…
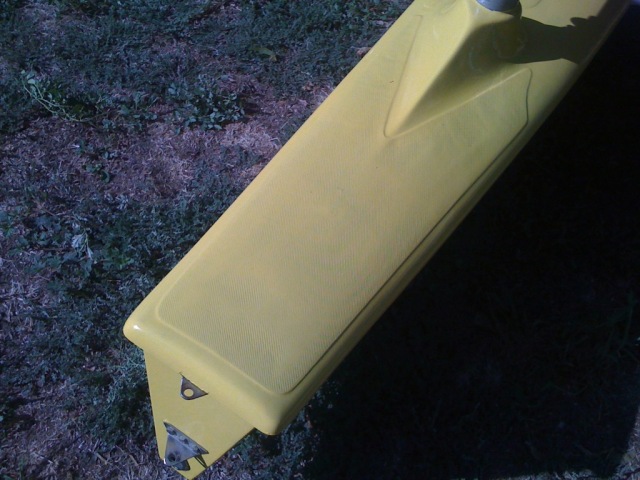
By the time I finished this hull, I’d gone through 2 quarts – and just a tiny bit of the third. This was getting expensive. I was starting to wonder if the paint was the right call over the gelcoat. But it sure looked nice:
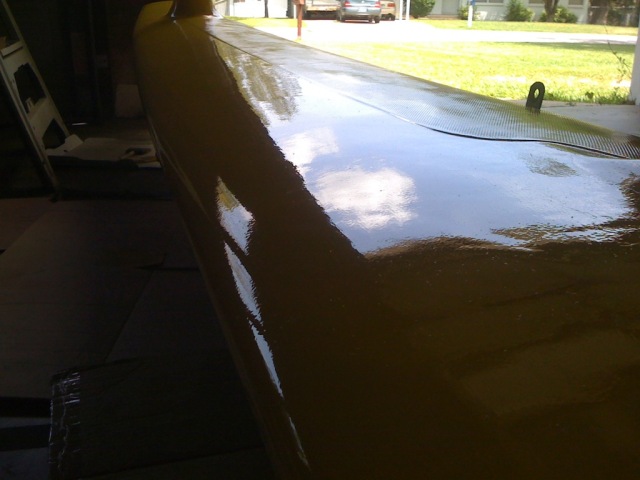
It took way longer than I thought it would. Was way too much sanding. Was way more expensive than I thought it would be (I ended up going through just over a gallon of paint) – but Lilo is starting to shine baby!
So it was time to put her back together. I re-assembled the tramp frame and had my boys lace it up.
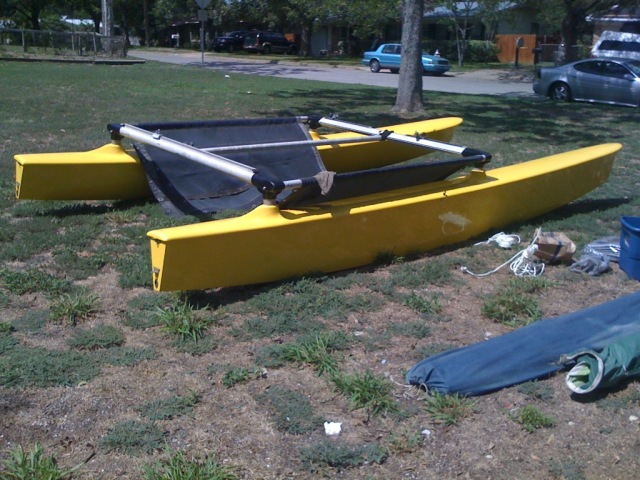
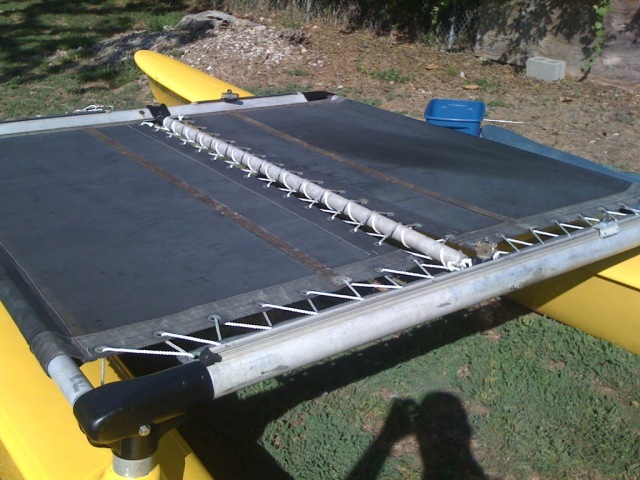
It was at this point that I realized we had brought this skanky thing a LONG ways back…
From here…
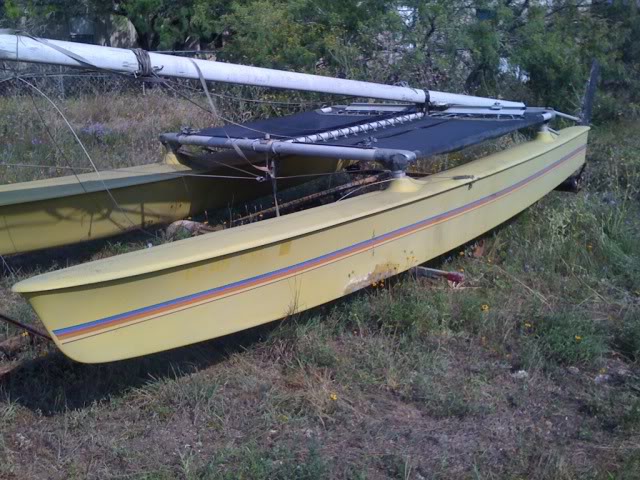
To here…
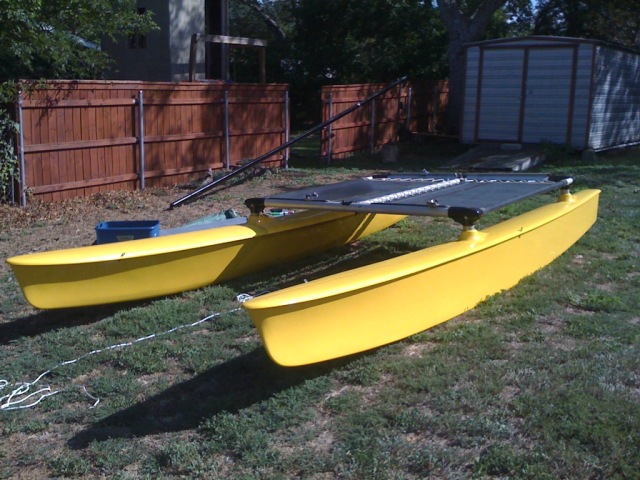
We raised the mast, rigged everything, and hoisted the original, tattered sails for the glory shot…
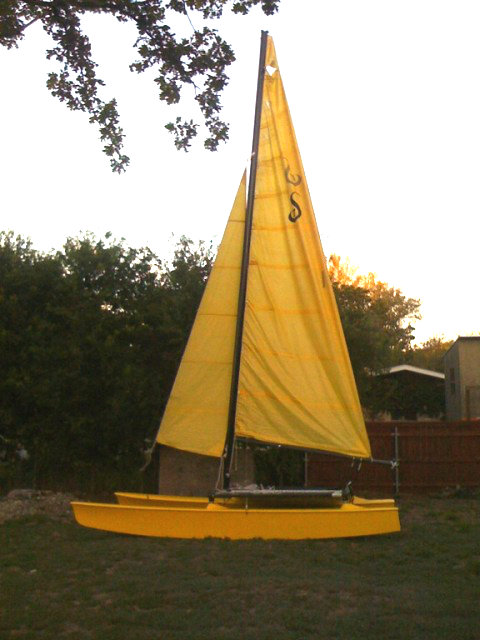
We give you the 1975 Spirit 17!
Next is finishing up the rudders and tiller extension. Then it’s off to the lake.
We’re about to have some fun!
